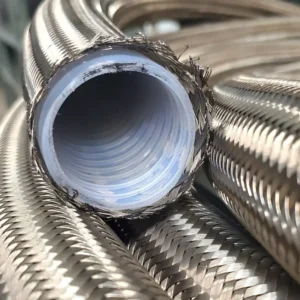
Hydraulic hoses are essential components in many heavy machinery and equipment, including construction machinery, agricultural equipment, and industrial machinery. These hoses are subjected to high pressure and harsh conditions, which can lead to wear and tear, leaks, and ultimately, failure. A failed hydraulic hose can result in costly downtime and potential safety hazards.
In this blog post, we’ll delve into hydraulic hose repair. We’ll discuss the common causes of hydraulic hose failure, the tools and materials needed for repair, and step-by-step instructions on how to repair a hydraulic hose. Whether you’re a seasoned mechanic or a DIY enthusiast, this guide will provide you with the knowledge and skills to tackle hydraulic hose repairs effectively.
Hydraulic Hose Repair Cost
The cost to hydraulic hose fix can vary depending on several factors, including:
- Hose Size and Type: Larger, more specialized hoses will generally cost more.
- Hydraulic Hose Length: Longer hoses will naturally cost more.
- Fittings: The type and number of fittings required will impact the cost.
- Labor Costs: The labor cost for cutting, crimping, and installing the hose can vary depending on the location and technician’s expertise.
- Additional Services: If any additional services are required, such as system flushing or pressure testing, the cost will increase.
General Cost Range:
- Basic Hydraulic Hose: $20 – $150
- Heavy-Duty Hydraulic Hose: $100 – $150 per 100ft
Tips for Minimizing Costs:
- DIY Repair: If you have the necessary tools and knowledge, you can save money by repairing the hose yourself. However, it’s important to ensure that the repair is done correctly to avoid potential safety hazards.
- Shop Around: Compare prices from different suppliers to find the best deal.
- Bulk Purchasing: If you need multiple hoses, consider purchasing them in bulk to get a discount.
- Preventive Maintenance: Regular inspection and maintenance of your hydraulic system can help prevent hose failures and reduce the need for costly repairs.
Additional Considerations:
- Safety: Hydraulic systems can be dangerous, so it’s important to take proper safety precautions when working on them.
- Warranty: Some hydraulic hoses come with a warranty, so it’s important to check the warranty terms before purchasing.
By considering these factors and following these tips, you can get a better idea of the cost of hydraulic hose repair and make informed decisions about your repair needs.
How to Repair Hydraulic Hose?
Hydraulic hose repair is a vital maintenance task that helps restore system efficiency, prevent leaks, and avoid costly downtime. When done correctly, it ensures safe operation under high pressure and extends equipment lifespan.
Following a structured step-by-step process allows you to accurately diagnose issues, replace damaged parts, and test performance effectively.
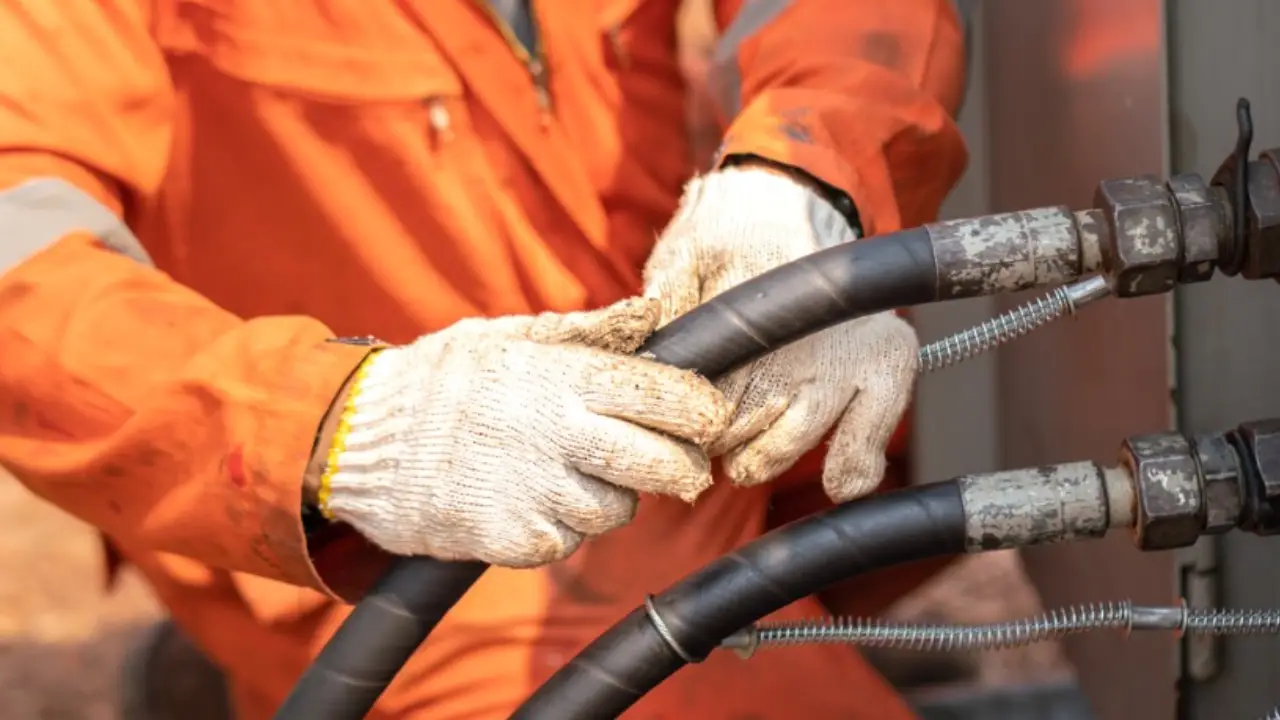
Step 1: Identify Hose Damage
Tools Needed:
- Inspection flashlight
- Safety gloves
- Cleaning cloth
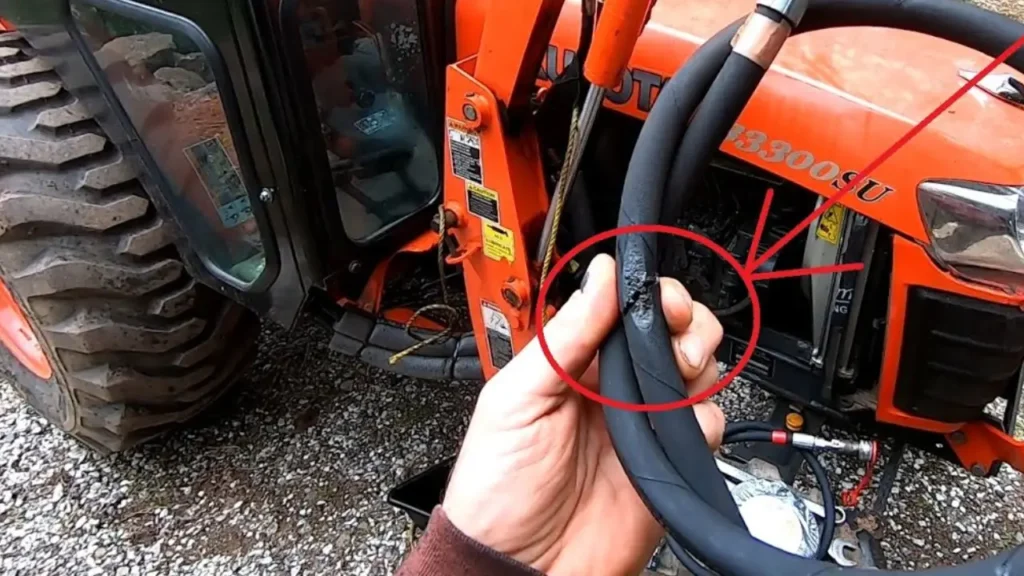
Begin by carefully examining the hydraulic hose for visible issues such as cracks, leaks, bulges, or abrasion. Clean the hose surface if needed to improve visibility. Pay close attention to areas near fittings, where stress is highest and damage is more likely to occur during operation.
A thorough inspection helps determine whether the hose can be repaired or must be replaced. Minor surface wear may be fixable, but deep structural damage usually requires replacement. Correct identification of the problem ensures you choose the safest and most effective repair approach for the system.
Step 2: Shut Down System and Release Pressure
Turn off the hydraulic system completely and disconnect all power sources before beginning any repair work. Ensure all machinery components are fully stopped to prevent accidental movement. This step is critical for protecting both the operator and the equipment during maintenance.
Next, release any remaining hydraulic pressure using the system’s relief valve. Always verify pressure levels on the gauge before proceeding. Never attempt repairs while the system is pressurized, as trapped energy can cause sudden fluid discharge and serious safety hazards.
Step 3: Clean the Hose Area
Clean the damaged hose and surrounding area thoroughly before disassembly. Removing dirt, oil, and debris prevents contamination from entering the hydraulic system during repair. Use a clean cloth and suitable cleaning solution to ensure the work area is safe and visible.
A clean surface also makes it easier to inspect damage accurately and handle components safely. Contamination is one of the main causes of hydraulic system failure, so maintaining cleanliness during repair helps protect internal components and improves long-term system reliability.
Step 4: Remove Damaged Hose Section
Carefully disconnect the damaged hose from both ends using appropriate tools. Avoid applying excessive force, as this may damage fittings or connected components. Place a container beneath the hose to catch any remaining hydraulic fluid during removal.
Once removed, inspect fittings for wear, cracks, or contamination. Reusable fittings should be cleaned thoroughly, while damaged ones must be replaced. Proper removal ensures a smooth repair process and prevents debris from entering the hydraulic system.
Step 5: Measure and Cut Replacement Hose
Measure the required hose length carefully based on the original installation. Use a proper cutting tool to ensure a clean, straight cut. Accurate cutting is essential to prevent sealing issues and ensure proper fitting alignment during installation.
After cutting, inspect both ends of the hose for debris or uneven edges. A clean and precise cut improves connection quality and helps maintain system pressure. Proper preparation ensures a secure and reliable hydraulic repair.
Step 6: Install New Hose and Secure Fittings
Attach the new hose to the fittings, ensuring correct alignment and a tight connection. Follow hydraulic hose manufacturer torque specifications to avoid over-tightening or under-tightening. Proper installation prevents leaks and ensures the hose performs safely under high-pressure conditions.
Double-check all connections for stability and correct positioning. Avoid twisting or bending the hose during installation, as this can reduce lifespan and performance. A properly installed hose ensures efficient hydraulic operation and reduces the risk of future failure.
Step 7: Test System Performance
Restart the hydraulic system gradually and monitor pressure levels closely. Observe the repaired section for leaks, unusual vibrations, or pressure drops. This step confirms whether the repair has been successful and the system is functioning correctly.
Continue monitoring during initial operation to ensure stability. If any issues appear, shut down the system immediately and recheck connections. Proper testing guarantees safe operation and ensures the hydraulic system is fully restored to working condition.
How to Repair a Leaking Hydraulic Hose?
A leaking hydraulic hose can quickly reduce system efficiency, increase safety risks, and lead to costly downtime if not addressed properly. Even small leaks indicate pressure loss or damage that needs immediate attention.
Understanding the correct repair process helps restore performance, prevent further deterioration, and ensure safe operation of hydraulic equipment in demanding environments.
Signs of a Leaking Hydraulic Hose
A leaking hydraulic hose can cause serious system inefficiency, safety hazards, and equipment damage if not detected early. Recognizing the warning signs helps prevent costly breakdowns and downtime. By understanding visual, performance, and physical indicators, operators can quickly identify issues and take corrective action before the problem escalates into major hydraulic system failure.
- Visible Fluid Leakage: one of the most obvious signs is hydraulic fluid seeping or spraying from the hose or fittings. even small wet spots or oil stains indicate a potential leak. continuous leakage can reduce system pressure, contaminate components, and lead to reduced performance or complete system failure.
- Reduced System Pressure: a leaking hose often results in noticeable pressure loss within the hydraulic system. this may cause slow or weak machine operation. if equipment responds sluggishly or lacks power, it can indicate fluid escaping through a damaged hose, requiring immediate inspection and corrective maintenance action.
- Unusual Hissing or Whistling Sounds: escaping pressurized hydraulic fluid can produce distinct hissing or whistling noises. these sounds are often heard near the damaged section of the hose. ignoring these auditory signs can lead to worsening leaks, increased wear, and potential safety risks for nearby operators or equipment.
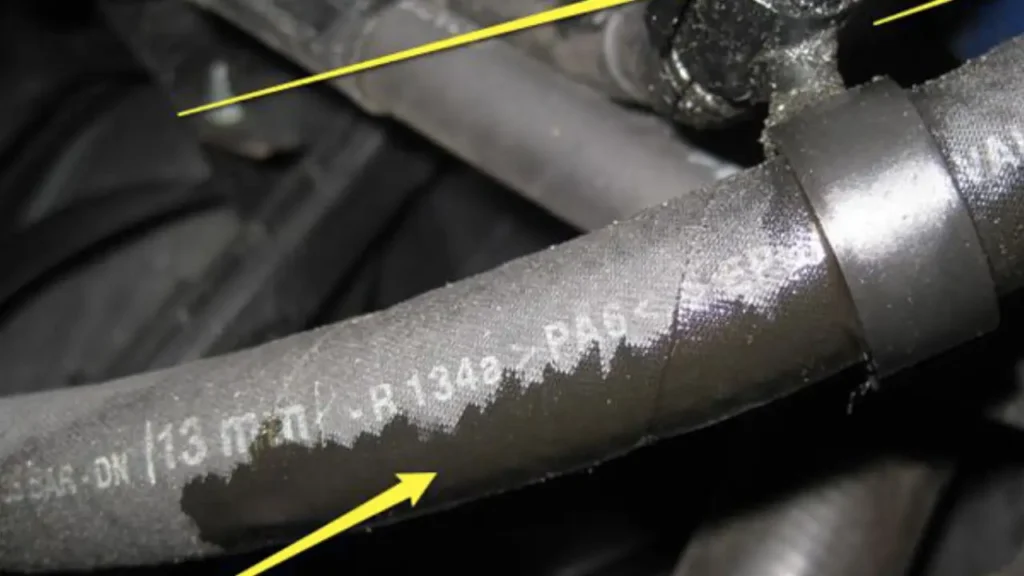
- Visible Hose Damage or Wear: cracks, bulges, abrasion, or frayed surfaces are clear indicators of hose deterioration. such physical damage often leads to leaks under pressure. inspecting the hose regularly helps detect early signs of wear before failure occurs, ensuring safer and more reliable hydraulic system performance.
- Overheating Hydraulic System: a leaking hose can reduce fluid levels and disrupt circulation, causing the system to overheat. elevated temperatures may affect hose flexibility and accelerate wear. if the hydraulic system runs hotter than usual, it may signal internal leakage or inefficient fluid flow requiring immediate attention.
Step 1: Identify Leak Location
Begin by carefully inspecting the hydraulic hose to locate the exact source of the leak. Look for wet spots, oil spray, or visible cracks along the hose body and fittings. Clean the surface to improve visibility and ensure the leak point is accurately identified before any repair work begins.
Precise identification is essential because leaks can sometimes travel along the hose surface, making the origin difficult to detect. Pay special attention to fittings, bends, and high-pressure areas. Correctly locating the leak ensures you apply the right repair method and avoid unnecessary replacement or incomplete fixes.
Step 2: Shut Down System and Release Pressure
Turn off the hydraulic system completely and isolate all power sources before starting repairs. Ensure all machinery components are fully stopped to eliminate movement risks. This step is critical to prevent accidental activation while handling pressurized hydraulic components.
Next, release all remaining system pressure using the pressure relief valve. Always confirm pressure has dropped to zero using the gauge before proceeding. Working under pressure is extremely dangerous, as trapped hydraulic energy can cause sudden fluid discharge and serious injury during repair.
Step 3: Clean Affected Area
Clean the leaking section of the hose thoroughly using a cloth and suitable cleaning solution. Removing oil, dirt, and debris improves visibility and ensures accurate inspection. A clean surface also helps prevent contamination from entering the hydraulic system during repair work.
Proper cleaning allows you to better assess whether the leak is caused by surface damage, fitting failure, or internal hose wear. Contaminants can worsen hydraulic issues, so maintaining cleanliness is essential for achieving a reliable and long-lasting repair solution.
Step 4: Tighten or Replace Fittings
Inspect the hose fittings carefully, as leaks often originate from loose or damaged connections. If fittings are loose, tighten them according to manufacturer specifications. Avoid over-tightening, which can damage threads or seals and worsen the leak problem.
If fittings are cracked, corroded, or worn, they must be replaced immediately. Damaged fittings cannot provide a secure seal under pressure. Proper fitting condition is essential to restore hydraulic integrity and prevent recurring leakage in the system.
Step 5: Apply Temporary Seal if Needed
If immediate replacement is not possible, apply a temporary repair solution such as a hose repair clamp or sealing tape. This helps control leakage temporarily and allows the system to operate safely until a permanent fix is completed.
Temporary sealing should only be used as a short-term solution. It does not restore full pressure integrity. Proper monitoring is required to ensure the leak does not worsen while preparing for a complete hose replacement or repair.
Step 6: Replace Damaged Hose Section
If the hose damage is severe, cut out the affected section and replace it with a new hose or coupling. Ensure the replacement matches the original specifications for diameter, pressure rating, and fitting type to maintain system compatibility.
Install the new section securely and ensure all connections are properly aligned. A correct replacement restores full hydraulic performance and eliminates the risk of recurring leaks, ensuring safe and efficient system operation under working pressure conditions.
Step 7: Test System Operation
Restart the hydraulic system slowly and monitor the repaired area closely. Check for any signs of leakage, pressure drop, or unusual movement. Gradual startup helps ensure the repair holds under operating conditions without sudden system stress.
Continue monitoring during initial operation to confirm stability. If any leak reappears, shut down the system immediately and reassess the repair. Proper testing ensures the hydraulic system is fully restored and operating safely and efficiently.
Quick Fix Hydraulic Hose Repair
While there are quick-fix solutions for hydraulic hose repairs, it’s crucial to understand that these are temporary measures and should be replaced with a proper repair or a new hose as soon as possible.
Here are some quick-fix options:
- Hose Clamps: These clamps can be used to seal small leaks or punctures in a hose. However, they are not suitable for high-pressure applications and should only be used as a temporary solution.
- Hydraulic Hose Repair Kits: These kits typically include a section of hose, fittings, and crimping tools. They are designed for quick repairs in the field but may not be as durable as a professionally repaired hose.
- Hydraulic Hose Repair Sleeves: These sleeves can be used to repair small leaks or cuts in a hose. They are easy to apply and can be used on a variety of hose sizes.
Important Considerations:
- Safety: Always wear appropriate safety gear, including gloves and eye protection, when working with hydraulic systems.
- Pressure Rating: Ensure that the quick-fix solution you choose is rated for the pressure of your hydraulic system.
- Temporary Solution: Remember that these are temporary fixes and should not be relied upon for long-term use.
- Professional Repair: It’s always best to have a hydraulic hose repaired or replaced by a qualified technician to ensure safety and longevity.
If you’re unsure about how to repair a hydraulic hose or if the damage is severe, it’s best to consult with a professional.
Conclusion
Hydraulic hose repair is a critical task that requires precision and expertise. While minor leaks can often be temporarily fixed with repair kits, major damage necessitates replacement. Always prioritize safety by relieving pressure and wearing protective gear before attempting any repairs.
If you’re dealing with hydraulic hose issues on your machinery, consider investing in custom hydraulic hoses tailored to your specific needs. Our team of experts can design and manufacture hoses that meet the highest industry standards, ensuring optimal performance and longevity.
Don’t let hydraulic hose problems slow down your operations. Contact us today to discuss your custom hydraulic hose requirements. We’ll work with you to find the perfect solution for your specific application.