Pressure washer hoses are built to endure tough jobs, but over time, wear and tear can lead to leaks or cracks. Knowing how to repair a pressure washer hose can save you money and keep your equipment running efficiently. In this guide, we’ll walk you through common hose issues and repair methods.
From simple leaks to more severe damage, repairing a pressure washer hose is easier than you might think. With the right tools and materials, you can restore your hose to full functionality, avoiding the need for a costly replacement. Let’s dive into the repair process and keep your pressure washer working like new.
When to Repair Pressure Washer Hoses?
Knowing when to repair your pressure washer hose is crucial to maintaining its performance and extending its lifespan. Regular inspections help you identify minor issues before they become major problems.
Below are key signs that indicate it’s time to repair your pressure washer hose.
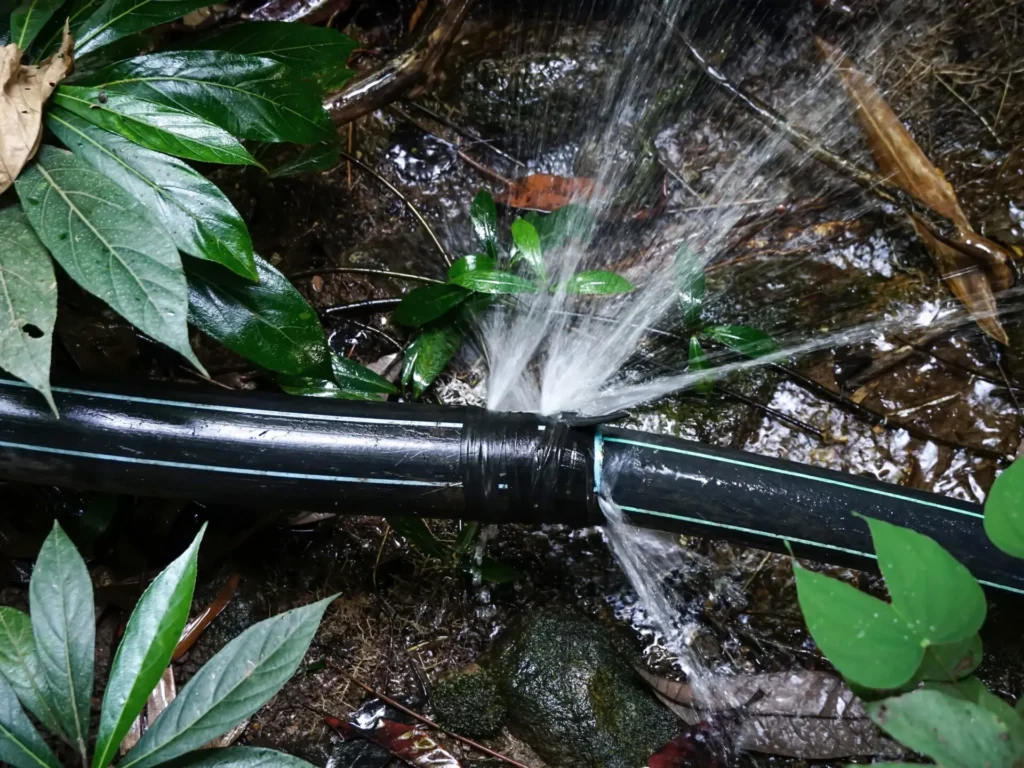
- Leaks at the connection points: Leaks are one of the most common signs that your pressure washer hose needs repair. If you notice water escaping from the fittings or along the hose, it’s a sign of damage.
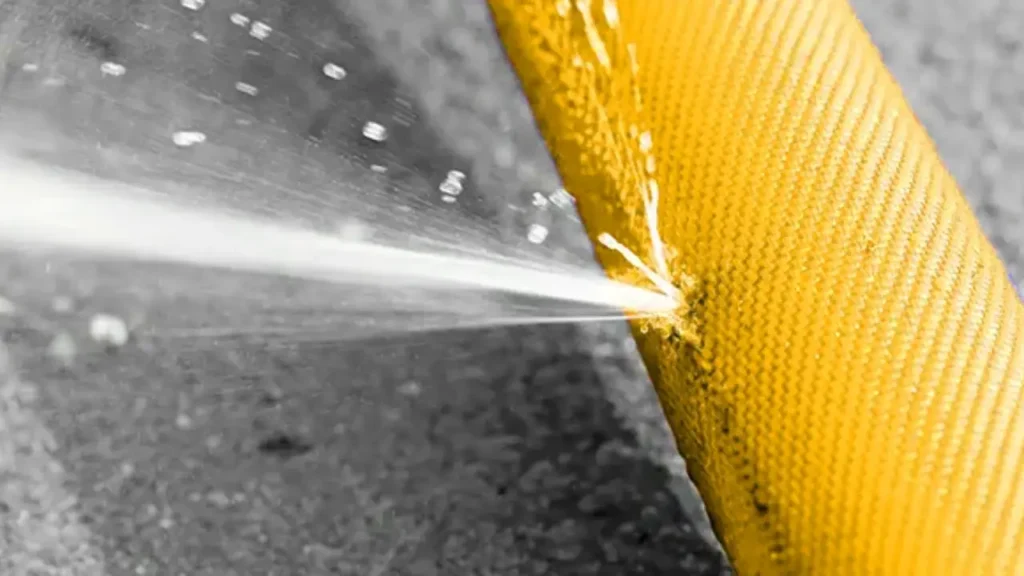
To address leaks, inspect the fittings for wear or corrosion. Replacing worn-out washers and tightening loose connections can often fix the issue, restoring full functionality. - Visible cracks or wear: If the hose shows visible cracks, cuts, or abrasions, it’s time to consider repairs. These damages can lead to further deterioration and potential failure during use.
For minor cracks, applying hose repair tape can provide a temporary fix. For more severe damage, replacing the damaged section or the entire hose may be necessary to maintain safe pressure operation. - Reduced water pressure: A drop in water pressure may indicate a blockage or damage in the hose. Over time, wear or internal buildup can affect water flow.
To check for blockages, disconnect the hose and inspect both ends for clogs. If no blockage is found, check for leaks or cracks that could be causing pressure loss. Repairing these issues can restore the hose’s full flow capacity. - Kinks that won’t straighten: If the hose develops kinks that won’t straighten, it can restrict water flow and create pressure loss. This is usually caused by excessive bending or poor storage.
Unkinking the hose is usually a simple fix, but if the hose has developed permanent bends, you may need to replace the section that has been compromised. Keeping hoses coiled properly when not in use can prevent this issue. - Constant hose vibrations: Excessive vibration while the pressure washer is running may indicate a loose connection or damage within the hose. Vibration can affect the washer’s performance and cause unnecessary wear.
Inspect the connections and tighten them as needed. If the vibrations persist, check for internal damage or leaks that could be affecting the stability of the hose during operation.
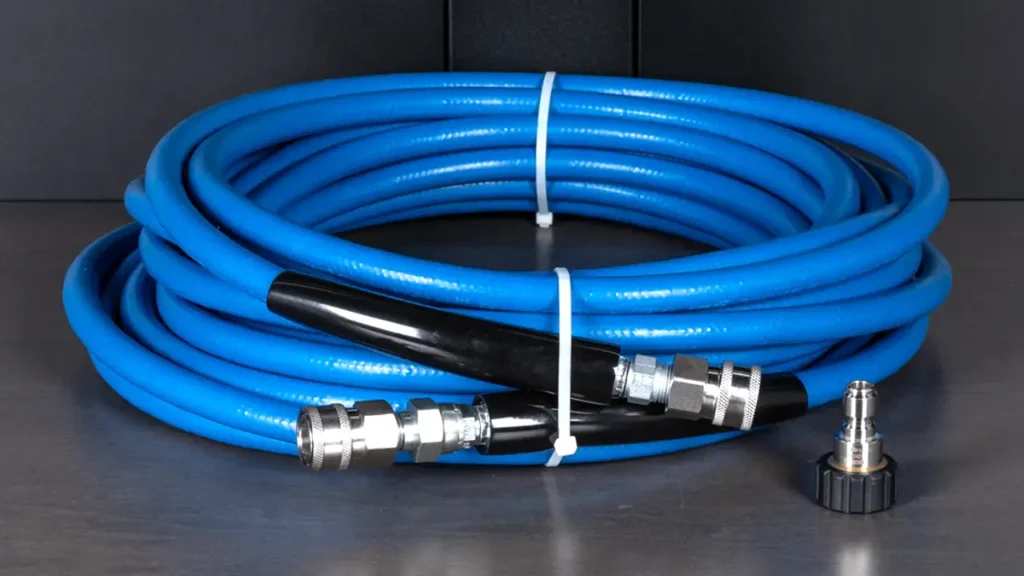
Pressure Washer Hose Repair Kit
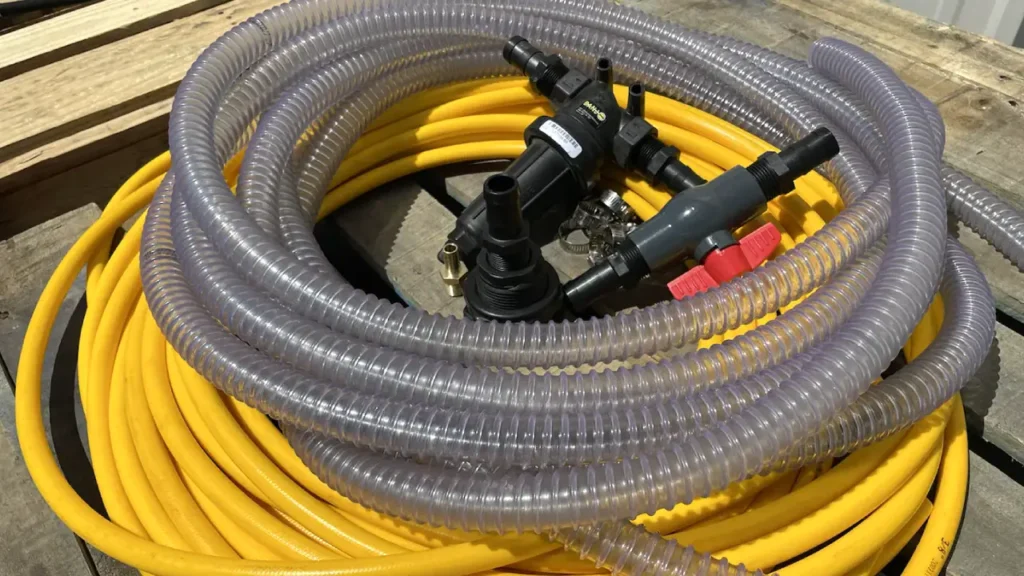
A pressure washer hose repair kit is an essential tool for fixing minor leaks, cracks, or other damages in your hose. This kit typically includes various fittings, connectors, clamps, and other necessary components to restore your hose to full functionality.
By having a repair kit on hand, you can quickly address issues without the need for a full hose replacement.
- Hose Mender: The hose mender is one of the primary components in a repair kit. It is designed to connect two pieces of hose together, allowing you to fix leaks or cracks. Once inserted into the hose ends, the mender provides a secure connection, ensuring that water flows through without any leaks. It’s ideal for fixing small sections of damaged hose.
- Connectors and Fittings: Connectors and fittings are used to attach different parts of the hose, such as the hose mender to the pressure washer or nozzle. They come in various sizes and types to fit different hose models. These fittings ensure that all connections are tight and secure, preventing leaks and ensuring the hose functions properly under pressure. They are crucial for maintaining a consistent water flow during use.
- Clamps: Clamps are used to secure the hose around the connectors or menders, ensuring they don’t come loose under pressure. They help maintain a tight seal, preventing water leakage. Tighten the clamps with a screwdriver or wrench to ensure the hose remains securely attached. Without proper clamps, water pressure can cause the hose to disconnect, leading to leaks and inefficiency.
- Teflon Tape: Teflon tape is included in many repair kits to seal threaded connections. Wrapping the tape around the threads helps create a watertight seal, preventing leaks. This simple addition ensures that the connections remain leak-free, even under high pressure. Teflon tape is particularly useful for connections between hoses and fittings or the nozzle and spray gun.
How to Repair Pressure Washer Hose?
How to Repair Pressure Washer Hose
Repairing a pressure washer hose can be a simple DIY task if you know the steps. Whether it’s a small leak or a more significant crack, addressing the issue promptly will ensure your hose performs optimally. Follow these six steps to repair your pressure washer hose and extend its life.
Tools Needed:
- Hose repair kit (hose mender, connectors, clamps)
- Adjustable wrench
- Utility knife or scissors
- Teflon tape (optional)
- Screwdriver
Step 1: Turn Off the Pressure Washer
Before starting the repair, turn off the pressure washer and disconnect it from the power source. This ensures there is no pressure in the system and helps prevent any accidents while working on the hose. Disconnect the hose from both the washer and water source.
Turning off the washer also gives you time to inspect the entire hose for damage. This step allows you to locate the leak or crack and make an informed decision about whether a simple fix or a full replacement of the damaged section is required.
Step 2: Identify the Damage
Inspect the hose thoroughly to locate the damage. Look for cracks, cuts, or holes along the entire length of the hose. You may need to run water through the hose briefly to pinpoint any small leaks that aren’t immediately visible.
Mark the damaged area once found, and assess the severity. If the damage is small, it can usually be repaired with a hose repair kit. For larger issues, you might need to cut and replace the damaged section of the hose to restore functionality.
Step 3: Cut the Damaged Section (If Necessary)
If the hose has a large crack or cut, use a utility knife or scissors to cut out the damaged portion. Make sure to cut straight across the hose to avoid jagged edges, which can lead to improper sealing during the repair.
After cutting, discard the damaged section. Ensure that the remaining hose is clean and free of debris. Clean both ends of the hose where the repair will take place, ensuring a secure fit for the hose connectors or mender.
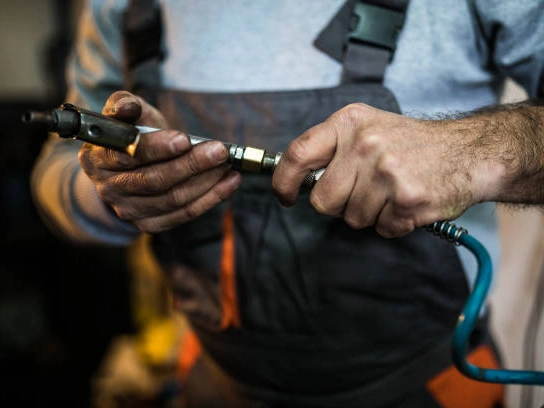
Step 4: Attach the Hose Mender or Connector
Take the hose mender or connector from your repair kit and insert both ends of the hose into the fitting. Tighten the connector securely with your hands or an adjustable wrench. This ensures a tight seal and prevents leaks.
If needed, wrap Teflon tape around the threads of the connector before attaching it. This extra step helps create a better seal and reduces the chances of future leaks. Ensure that the mender fits tightly into both ends of the hose to maintain proper pressure.
Step 5: Secure the Connection with Clamps
Once the hose mender or connector is attached, use clamps to secure the hose ends to the fitting. Tighten the clamps with a screwdriver to ensure the hose stays firmly attached during use. This step is essential for preventing leaks.
Check the connection for any gaps or loose fittings after tightening. Properly securing the clamps will prevent water from escaping under pressure, allowing the pressure washer to operate at full capacity.
Step 6: Test the Repair
Once the hose is repaired, reconnect it to the pressure washer and water source. Turn on the water supply and test the hose by running the pressure washer briefly. Check for any leaks or signs of pressure loss.
If everything seems secure, continue using the hose as usual. If there are still issues, recheck the fittings or consider redoing the repair. A well-repaired hose should work like new, saving you the cost of a full replacement.
Can You Repair a Hole in a Pressure Washer Hose?
Yes, it is possible to repair a hole in a pressure washer hose to solve the leaking problems. While a damaged hose can significantly impact your pressure washer’s performance, there are effective ways to fix small holes and cracks. Quick repairs can extend the life of your hose and save you the cost of a full replacement.
- Use Hose Repair Tape: Hose repair tape is one of the most common ways to fix small holes in a pressure washer hose. The tape is designed to create a waterproof seal, preventing water from leaking through the hole. Wrap the tape tightly around the damaged area, ensuring it covers the hole completely. This method is effective for temporary fixes and minor damage but may not last under high pressure for extended periods.
- Hose Repair Kits: Using a hose repair kit with menders and connectors is another excellent way to fix a hole in the hose. These kits provide everything you need to cut out the damaged section and reconnect the hose with a secure fitting. Once the damaged portion is removed, insert the hose mender and secure it with clamps. This method provides a more permanent repair solution compared to tape and is ideal for larger holes.
- Rubber Patch: For larger holes, a rubber patch can be used as a more durable repair solution. Cut a piece of rubber that fits over the hole and use strong adhesive to attach it to the hose. Once the patch is securely glued in place, reinforce it with hose clamps to ensure a tight, leak-free connection. This method works well for medium-sized holes in the hose material.
- Replacement Sections: If the hole is too large or the hose is too worn, replacing the damaged section may be the best option. Using a hose cutter, carefully remove the damaged part and replace it with a new section. You can use connectors or hose menders to join the new section to the existing hose. This repair method restores the hose to full function, ensuring consistent water flow and pressure.
Pressure Washer Hose Maintenance Tips
Proper maintenance of your pressure washer hose ensures its longevity and optimal performance. By following these simple maintenance tips, you can prevent common issues like leaks, pressure loss, or hose wear.
Regular care will keep your pressure washer working efficiently for years, saving you the cost of frequent replacements.
- Inspect the Hose Regularly: Regular inspections are essential for identifying early signs of wear and tear, such as cracks, cuts, or abrasions. Look for any visible damage before each use to prevent potential leaks. By checking your hose regularly, you can catch small issues before they escalate, reducing the risk of costly repairs. Inspecting the hose also helps maintain safety during operation, preventing pressure loss.
- Store the Hose Properly: Always store your pressure washer hose in a cool, dry place away from direct sunlight, heat, and sharp objects. Avoid coiling the hose too tightly or leaving it exposed to harsh weather conditions. Proper storage prevents the hose from developing kinks or becoming brittle. When not in use, coil the hose loosely and hang it on a hose reel to protect it from physical damage and UV exposure.
- Flush the Hose After Use: After each use, flush your pressure washer hose with clean water to remove any debris or residue. This prevents buildup inside the hose that could cause clogs or reduce water flow. Flushing the hose ensures that it remains clean and clear, preserving its internal structure. It also reduces the risk of damage caused by trapped dirt, which could block water flow or create pressure issues.
- Avoid High-Pressure Bends: Never bend your pressure washer hose at sharp angles, as this can restrict water flow and create stress points that may lead to cracking or leaks. Always handle the hose gently and avoid twisting or forcing it into tight spaces. Bending the hose at sharp angles can compromise its structural integrity, leading to weakened areas that are prone to damage during use.
- Check for Leaks and Tighten Fittings: Before each use, ensure that all hose connections are tight and secure. Loose fittings can cause leaks and reduce pressure efficiency, making your cleaning tasks more difficult. Regularly check and tighten the connections with an adjustable wrench if necessary. This simple maintenance step ensures optimal pressure and minimizes water wastage due to leaks, improving overall cleaning performance.
Conclusion
Repairing a pressure washer hose is a straightforward process that can extend the life of your equipment. Whether it’s a small leak or a significant crack, addressing the issue early can prevent further damage and improve the efficiency of your pressure washer. Regular maintenance also helps you avoid downtime during cleaning tasks.
Remember to always inspect your hose before and after each use. Keeping an eye on potential issues and repairing them promptly will help ensure the longevity of your pressure washer hose. With the right tools and techniques, you can easily manage minor repairs without professional assistance.
For those looking to replace their hoses or stock up on replacements, Gushan Rubber offers durable pressure washer hoses at wholesale prices. Our hoses are designed to withstand high-pressure environments, providing reliable performance for all your cleaning needs. Visit us today for dependable, cost-effective hose solutions.