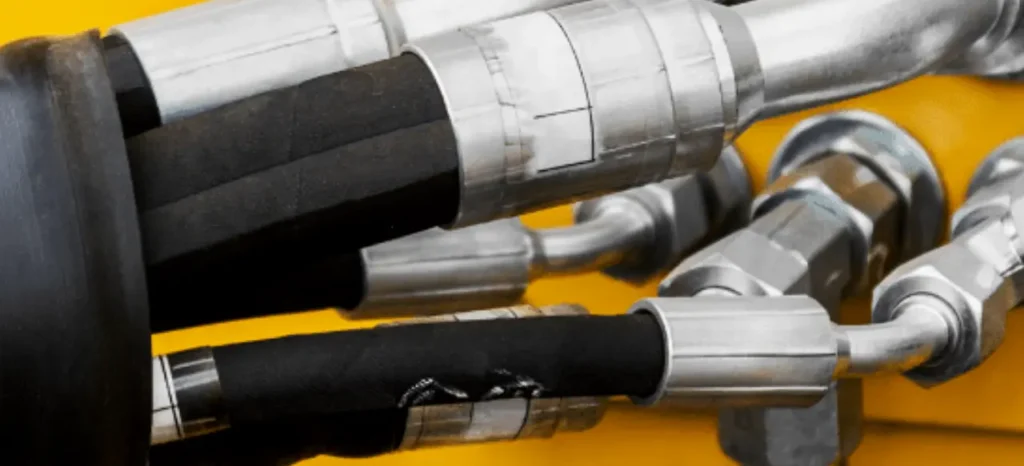
Hydraulic hoses are critical components in many industrial and mobile equipment. However, they can become stuck due to factors like corrosion, rust, or tight spaces. A stuck hose can lead to system malfunctions, downtime, and potential safety hazards.
This blog post will provide a step-by-step guide on how to safely and effectively remove a stuck hydraulic hose. We’ll cover essential safety precautions, necessary tools, and effective removal techniques. Whether you’re a seasoned mechanic or a DIY enthusiast, this guide will equip you with the knowledge to tackle this challenging task with confidence.
By following these instructions, you can minimize downtime, prevent damage to equipment, and ensure the safe and efficient operation of your hydraulic systems.
Why Hydraulic Hose Gets Stuck
Hydraulic hoses can get stuck for a variety of reasons, including:
- Corrosion: Over time, the metal fittings on the hose can corrode to the components they’re attached to. This creates a tight, almost fused bond that makes removal difficult.
- Sizing: If the hose has been subjected to high temperatures or has been exposed to contaminants, the fittings can seize together. This can make it extremely difficult to loosen the connection.
- Over-tightening: If the hose was initially installed with excessive force, the fittings can become overly tightened, making them difficult to loosen without risking damage.
- External Factors: Obstructions like other components or tight spaces can hinder access to the hose fittings, making it challenging to apply the necessary tools and leverage.
- Hose Damage: If the hose itself is damaged (e.g., kinked, crushed), it can become deformed and stuck in place, making removal more difficult.
These are just some of the common reasons why hydraulic hoses can become stuck. It’s important to carefully assess the situation and identify the specific cause before attempting any removal.
How to Remove Stuck Hydraulic Hose?
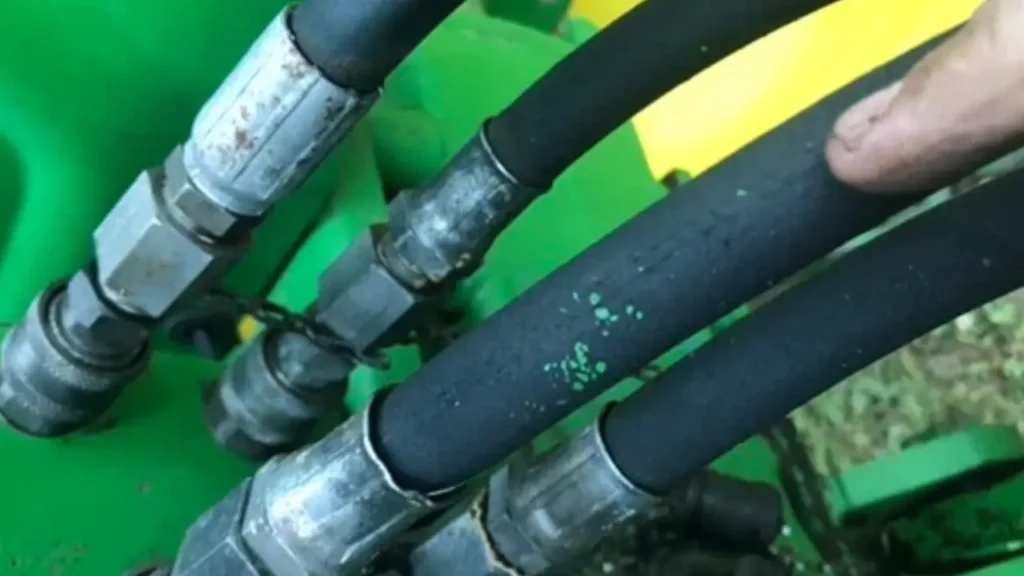
A stuck hydraulic hose can halt operations, often being seized due to corrosion, dirt, or overtightening. Successfully removing it requires a methodical approach that prioritizes safety and avoids damaging the connection ports. We provide this step-by-step guide to help you safely and effectively free a stubborn hydraulic hose, ensuring minimal downtime and preserving your equipment’s integrity.
We recommend following all safety precautions before beginning this process. Always ensure the hydraulic system is completely depressurized and the machine is powered down and locked out. We supply the expertise needed to address this common maintenance challenge effectively, ensuring a smooth transition when installing a new component.
Tools Needed:
- Safety glasses and gloves
- Wrench (Open-end or adjustable)
- Penetrating lubricant
- Wire brush
- Rag or shop towel
- Soft-face hammer or rubber mallet
Step 1: Depressurize and Clean the System
We ensure that the entire hydraulic system is completely depressurized before touching any fittings. This is a critical safety step to prevent injury from retained pressure. After depressurization, we use a wire brush and a rag to meticulously clean the area around the stuck fitting, removing all dirt, grit, and corrosion.
We provide this initial cleaning step to give us the best access and ensure that no debris falls into the port once the hose is removed. A clean working area allows for better visual inspection and reduces the risk of cross-contamination in the hydraulic fluid.
Step 2: Apply Penetrating Lubricant
We liberally apply a penetrating lubricant directly onto the threads and the junction where the hose fitting meets the port or adapter. This product is designed to wick into the tight gaps and begin dissolving the rust or gunk that is binding the connection.
We allow the lubricant ample time to soak in and break down the seized bond. Depending on the severity of the corrosion, this may require several minutes or even repeat applications. Patience here significantly increases the chance of a successful and non-damaging removal.
Step 3: Attempt Initial Loosening with Wrench
We use the correct size open-end or adjustable wrench to grip the hexagonal fitting securely. We apply firm, steady, and increasing pressure in the counter-clockwise (loosening) direction. Avoid sudden, jerking movements which can strip the fitting or damage the connection.
We prefer this method to gently encourage movement in the stuck fitting. If the fitting does not budge with reasonable force, we stop immediately to avoid rounding the hex or twisting the hose itself, indicating the need for more penetrating lubricant or the next step.
Step 4: Use Tapping to Break the Bond
We gently tap the area around the fitting, specifically the nut or hex portion, using a soft-face hammer or rubber mallet. The slight shock of the impact can often help the penetrating lubricant work its way in and break the bond of corrosion or thread lock.
We employ this light tapping technique to induce micro-vibrations without deforming the metal. This action often frees up the threads enough to allow the wrench to complete the loosening process successfully on the next attempt.
Step 5: Reattempt Loosening and Wiggle
We apply the wrench again and attempt to turn the fitting counter-clockwise, applying consistent pressure. As the fitting starts to turn, we may gently wiggle the hose fitting back and forth (clockwise/counter-clockwise) to help clean the threads.
We use this wiggling motion to assist in the removal of any remaining stubborn debris or rust particles caught in the threads. Once loosened, we continue unscrewing the fitting by hand until it is fully disconnected from the port or adapter.
Step 6: Remove Hose and Clean Port
We carefully remove the hose, holding it upright to minimize any fluid spillage. Immediately after removal, we cover or plug the open port or adapter to prevent contamination of the hydraulic system with dirt, air, or moisture.
We immediately clean the removed hose end and the open port/adapter threads with a clean rag. This step prepares the port for the new hose installation and helps us assess if any damage occurred to the threads during the removal process.
Step 7: Inspect and Prepare for New Hydraulic Hose
We meticulously inspect the threads of the port and any adapter for signs of damage like cross-threading or stripping. If the threads are damaged, the adapter must be replaced before installing the new hose.
We ensure the threads are clean and we may apply a thin layer of thread sealant or hydraulic-specific anti-seize compound before installing the new hose. This preventive step will aid in proper sealing and facilitate easier removal in the future.
How to Prevent Hydraulic Hose Stuck?

Here are some tips helping you avoid potential hydraulic hose failure, such as being stuck in the hydraulic systems.
- Torque to Spec: Tighten fittings to the manufacturer‘s recommended torque specifications. Over-tightening can cause damage and seizing, while under-tightening can lead to leaks and potential problems.
- Cleanliness: Ensure all surfaces are clean and free of debris (dirt, metal shavings) before installation. Contamination can accelerate corrosion and hinder a proper seal.
- Use of Anti-Seize Compounds: Apply a thin layer of anti-seize compound to the threads of fittings before installation. This helps prevent galling (the seizing of two metal surfaces due to friction) and corrosion, making future removal easier.
2. Regular Maintenance:
- Visual Inspections: Regularly inspect hoses for signs of wear, abrasion, cracks, or leaks. Replace any damaged hoses promptly.
- Fluid Quality: Maintain proper hydraulic fluid levels and ensure the fluid is clean and free of contaminants. Contaminated fluid can accelerate corrosion and damage system components.
- Temperature Control: Minimize exposure to extreme temperatures, which can accelerate aging and degradation of the hose and fittings.
3. Storage:
- Proper Storage: When not in use, store hoses in a cool, dry, and clean environment to prevent exposure to moisture and contaminants.
- Avoid Kinking: Avoid kinking or bending hoses excessively during storage, as this can weaken the hose and damage the internal structure.
4. Hydraulic Hose Selection:
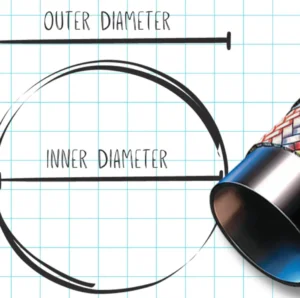
- Choose the Right Hose: Select hoses that are appropriate for the application’s pressure, temperature, and fluid type. Using the wrong hose can lead to premature failure and increase the risk of issues.
By implementing these preventative measures, you can significantly reduce the risk of hydraulic hose fittings becoming stuck and minimize the need for costly and time-consuming repairs.
Conclusion
Removing a stuck hydraulic hose can be challenging, but with careful planning and the right approach, it can be done safely and effectively. By following the steps outlined in this guide, you can minimize the risk of damage to the hose, fittings, and surrounding components. Remember to prioritize safety throughout the entire process and consult with a qualified technician if you encounter any difficulties.
For the highest quality hydraulic hoses and expert advice, contact our factory today. We offer a wide range of durable and reliable hoses to suit various applications.
Our team of experienced professionals can assist you in selecting the right hose for your specific needs. Contact us for a free quote and experience the difference.