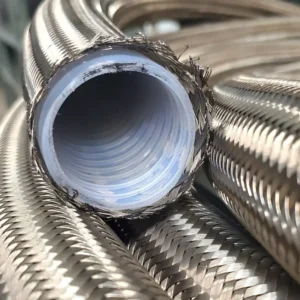
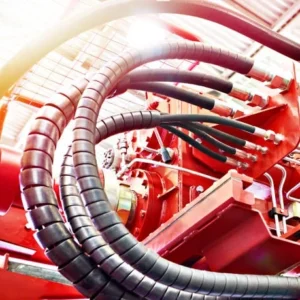
A leaking or damaged rubber hose can cause significant downtime and waste, whether it’s a garden hose, a radiator line, or a hydraulic conduit. Knowing how to perform a quick and durable repair is essential to maintain fluid efficiency and prevent further damage to your equipment or property.
This guide will walk you through various repair techniques, from quick fixes for pinhole leaks to permanent splicing methods for severe tears. Learning these simple steps can save you the cost of replacing an entire hose, getting your system back to full operation fast.
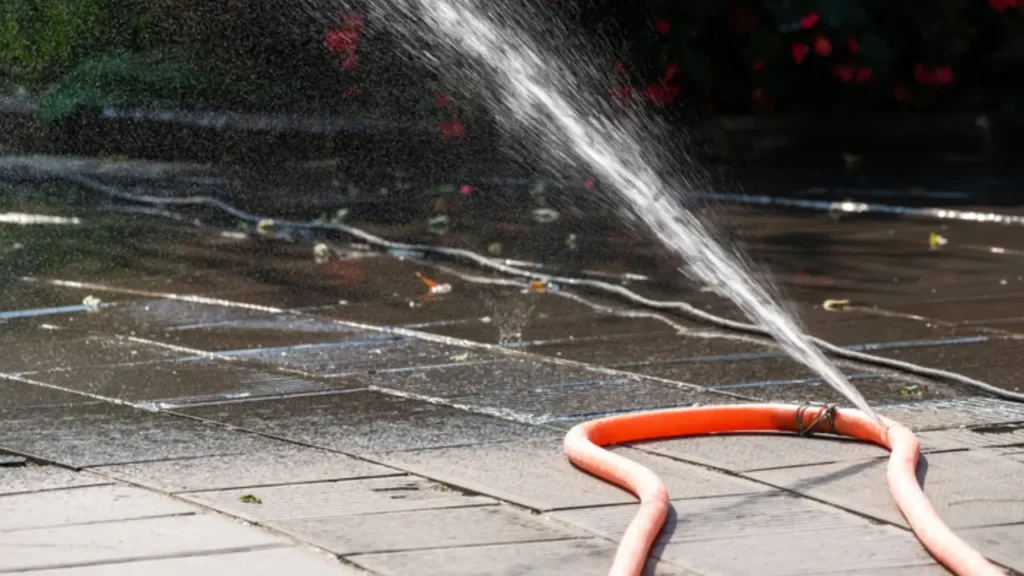
How to Inspect Rubber Hose Leaking
Before attempting any repairs, accurately inspecting a rubber hose for leaks is the most critical first step. Identifying the exact location and severity of the damage ensures you select the most effective and durable repair method, avoiding recurring failures and unnecessary work.
- Visual Inspection for Obvious Damage: Start by giving the entire hose a thorough visual check, looking for cracks, bulges, abrasions, or puncture marks on the exterior. Pay special attention to areas near fittings, bends, and points where the hose may rub against other components, as these are common failure zones.
- The Squeeze and Flex Test: With the hose depressurized, run your hand along its length while gently squeezing and flexing the rubber. Look and listen for soft spots, thin areas, or small bursts of air/fluid that indicate internal material deterioration or a hidden pinhole leak not visible under static conditions.
- Use the Soapy Water Test: For systems under pressure (air or low-pressure fluid), spray or wipe a solution of soapy water over the hose, particularly around fittings and suspected leak spots. If a leak is present, the escaping air or fluid will create visible bubbles, precisely pinpointing the source of the problem.
- Check End Fittings and Connections: Leaks often occur not on the hose body itself, but at the connection points with the spigot, nozzle, or machinery. Check the tightness of clamps, inspect the integrity of washers and gaskets, and look for signs of rust or material corrosion on the mating surfaces that could be breaking the seal.
How to Repair a Rubber Hose?
Quickly fixing a damaged rubber hose can save you time and money. The best repair method depends on the size and location of the leak, ranging from simple patches for minor damage to splicing in new sections for severe tears or bursts.
Tools Needed for Fixing Rubber Hoses
Effective hose repair and maintenance rely entirely on using the right tools for the job. Having these specific items on hand ensures you can perform precise cuts, secure patches, and create durable, professional-grade seals without causing further damage to the hose material.
- Sharp Utility Knife or Cutter: Essential for making clean, straight, and precise cuts to remove damaged sections. A sharp blade prevents the rubber from tearing and ensures a square end for couplings.
- Hose Menders/Couplers: Used to join two sections of hose after a damaged piece has been removed. They are necessary for creating a permanent, leak-proof splice in the middle of a line.
- Hose Clamps: These secure the hose firmly onto the menders or fittings. A correctly sized clamp ensures a tight seal against the barb, which is critical for pressure applications.
- Screwdriver or Wrench: Required for tightening the screws on hose clamps or mender fittings. Ensures you apply adequate and even force for a secure, non-leaking connection.
- Rubber Patch Kit or Tape: Necessary for quickly sealing small punctures or pinhole leaks. Self-fusing silicone tape is highly effective for creating a durable, watertight wrap seal.
- Replacement Washers/Gaskets: Used for fixing leaks at the hose-to-faucet or hose-to-nozzle connection points. Replacing a brittle or worn-out washer often solves connection drips.
Step 1: Prepare the Hose and Locate the Leak
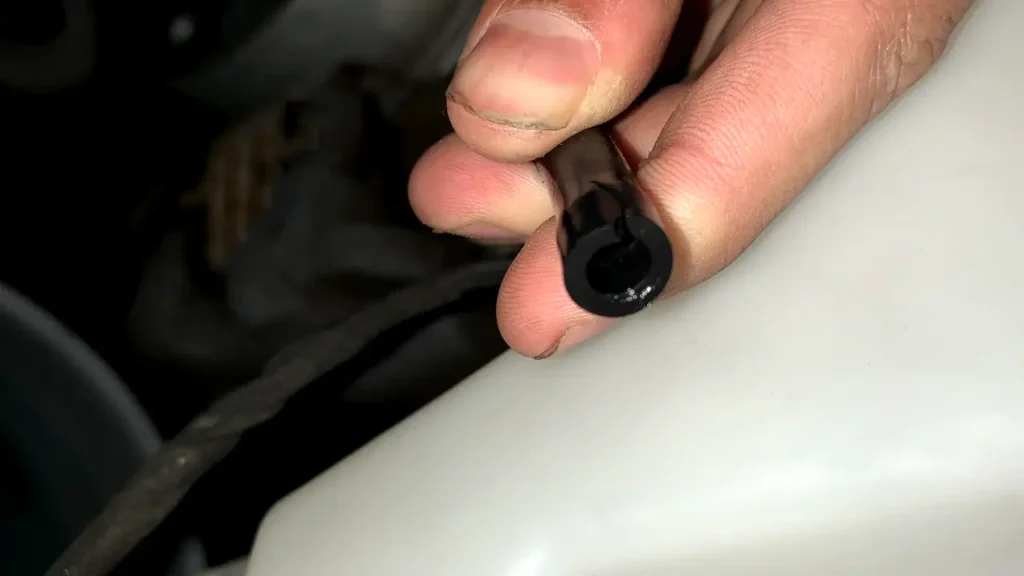
Before starting any repair, completely drain the hose and ensure the fluid supply is shut off and depressurized. Use a clean cloth to wipe the damaged area thoroughly, ensuring it is dry and free of dirt, oil, or grime, which is crucial for any adhesive or patch material to bond effectively.
Inspect the rubber hose carefully to pinpoint the exact location and size of the leak. For small holes or pinpricks, circle the area with a marker; for large tears or bursts, you will need to cut out the compromised section to perform a splice.
Step 2: Repair Pinhole Leaks with Patch Kits
For small punctures or pinholes (common in garden hoses), a specialized rubber patch kit or self-fusing silicone tape is the simplest solution. Apply the adhesive patch or tape over the leak, ensuring it extends well past the damage on all sides to create a robust seal.
Wrap the repair tightly, ensuring there are no air bubbles or wrinkles beneath the patch material. Allow the patch to cure according to the manufacturer’s instructions before repressurizing the hose to test the integrity of the seal you have created.
Step 3: Splice the Hose with a Mender or Coupler
For a complete break, burst, or large tear, the most permanent solution is to cut out the damaged section and install a hose mender (or coupler). Use a sharp knife or dedicated hose cutter to make perfectly straight, perpendicular cuts on both sides of the damage.
Ensure the cut ends are clean and smooth, then loosen the clamps on the mender fitting and insert the two cut hose ends firmly onto the mender’s barbs. Tighten the hose clamps securely with a screwdriver, ensuring a tight seal without crushing the rubber material.
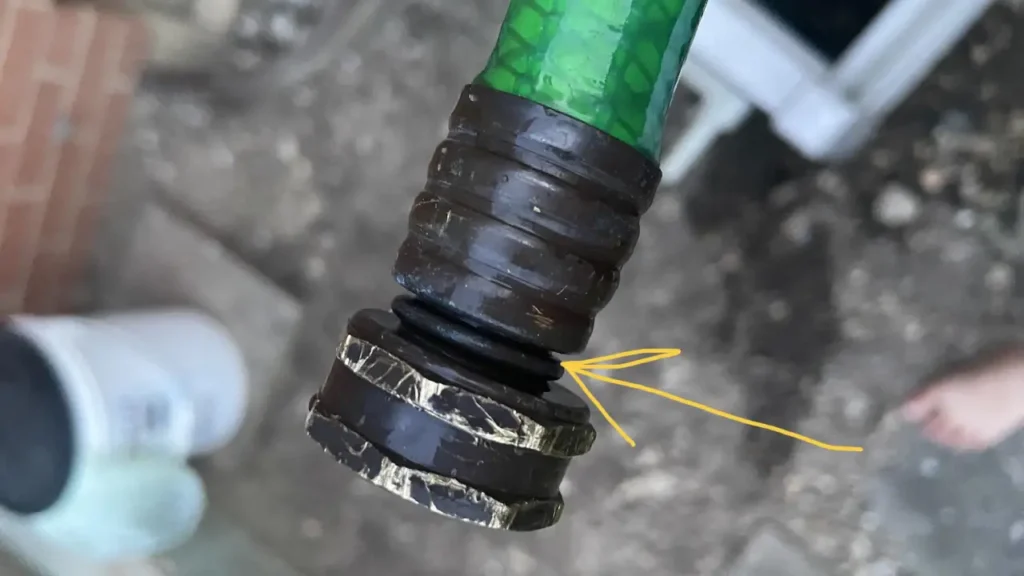
Step 4: Fix Leaky End Connections
If the leak is at the faucet or nozzle connection, the rubber washer or gasket inside the fitting is often the culprit. Disconnect the hose and use a small screwdriver or pick to remove the old, brittle, or cracked washer, which is a very common source of drips.
Replace the old washer with a new, correctly sized rubber gasket, ensuring it sits flat and flush inside the coupling. Reattach the fitting and hand-tighten it; this simple replacement often solves the leak without needing any further repair work on the hose body.
Step 5: Test the Repair Under Pressure
Once the repair is complete and any adhesives or patches have fully cured, carefully reintroduce pressure to the hose. Slowly turn on the water supply or activate the pump and observe the repaired area closely for any signs of dripping, seepage, or bulging.
If the repair holds without leaking, it is successful. If you observe any leaks, immediately shut off the pressure and tighten the clamps, reapply the patch, or re-cut and re-splice the section if the initial repair failed to hold the required pressure.
How to Fix a Hole in a Rubber Hose?
Fixing a hole in a rubber hose usually involves either patching the hole or cutting out the damaged section and rejoining the hose. The best method depends on the hole’s size and the hose’s use.
Step 1: Assess the Damage and Prepare the Area
The first step is to carefully examine the hole to determine its size and location. A small puncture might be easily patched, whereas a large tear might require cutting. Next, ensure the hose is completely dry and free of any residual fluids.
Use a clean rag to wipe down the immediate area around the hole, removing all dirt, grease, or oil. A small piece of fine-grit sandpaper can lightly scuff the area, which helps the adhesive or patch material bond more securely to the rubber surface.
Step 2: For Small Holes, Use a Rubber Patch Kit
For minor punctures or small holes, a bicycle tire repair kit or a specialized rubber patch kit is a great solution. These kits typically contain a rubber patch and a strong rubber cement or adhesive.
Apply a thin, even layer of the rubber cement around the hole, extending slightly past the patch’s size. Allow the adhesive to become tacky, which usually takes a few minutes, following the product’s specific instructions for optimal results.
Step 3: Apply the Patch Firmly
Carefully peel the backing off the rubber patch and center it directly over the hole. Once positioned, press the patch down very firmly, working from the center outward to push out any trapped air bubbles.
Hold the patch in place with steady pressure for the amount of time specified by the adhesive manufacturer, often with a clamp or a heavy object. Allow the patch to cure completely before running any fluid or pressure through the hose.
Step 4: For Large Damage, Cut Out the Section
If the hose has a large or irregular tear, the most reliable fix is to remove the damaged section entirely. Use a sharp utility knife or shears to make two clean, straight, perpendicular cuts on either side of the hole.
Measure the length of the damaged piece you removed, as you’ll need to bridge this gap with a new piece or a connector. Ensure the freshly cut ends of the remaining hose are perfectly smooth and free of any ragged edges for a secure fit.
Step 5: Insert a Mender or Splice
To rejoin the two cut ends, you will need a hose mender or splice fitting of the correct diameter. This is typically a barbed or ribbed fitting made of plastic or metal that fits snugly inside the hose ends.
Push one end of the hose firmly onto the mender’s fitting until it covers the barbs completely. Then, push the other remaining hose end onto the opposite side of the fitting to create a tight, continuous seal.
Step 6: Secure the Connection with Clamps
For added security and to ensure the hose doesn’t pop off under pressure, use hose clamps over the spliced area. Position one clamp over the hose end just behind the mender on each side of the connection.
Tighten the clamps using a screwdriver or nut driver until they compress the rubber tightly around the mender’s barbs, but be careful not to overtighten and damage the hose material. Test the repair for leaks before putting it back into full service.
Can You Fix Brake Line With Rubber Hose?
No, you absolutely cannot use a standard rubber hose to fix or replace a metal brake line. This is a crucial safety issue, as automotive brake lines operate under extremely high hydraulic pressure, which a general-purpose rubber hose cannot safely withstand.
- High Pressure Requirements: Brake systems generate hundreds to thousands of pounds per square inch (PSI) of pressure during hard braking. Standard rubber hose would immediately rupture under this force, leading to total brake failure and catastrophic loss of vehicle control, making any such repair extremely dangerous.
- Brake Fluid Compatibility: Brake fluid (DOT 3, 4, or 5.1) is highly corrosive to most common rubber compounds not specifically formulated for it. Using an incompatible hose would cause the rubber to quickly swell, degrade, and fail, releasing dangerous debris into the brake system.
- Required Reinforcement and Rating: Only specialized, reinforced flexible rubber brake hoses (which are different from a regular rubber hose) are rated for this task, but they connect to hard lines, not replace them. They are heavily reinforced with multiple layers of braiding to handle the extreme pressure and heat involved.
- Legal and Safety Standards: Repairing a brake line with anything other than approved, OEM-specified components (hard lines or DOT-approved flexible hoses) voids safety regulations and can result in legal liability. Brakes are a non-negotiable safety system requiring professional-grade materials.
Repair Transmission Line With Rubber Hose
While tempting for a quick fix, permanently repairing a metal transmission cooler line with a standard rubber hose is strongly discouraged and should only be considered a temporary, roadside emergency measure. Transmission fluid is hot and pressurized, requiring materials specifically designed to withstand these harsh operating conditions.
- Pressure and Heat Exposure Automatic transmission fluid (ATF) runs at high temperatures and moderate pressure, especially during operation. A basic rubber hose or an incorrect clamp can easily soften, bulge, or blow off the metal line, leading to catastrophic loss of fluid and immediate, severe damage to the transmission unit.
- Fluid Compatibility is Essential ATF contains specialized additives that can aggressively degrade unrated rubber compounds over time. Using an incompatible hose material will cause the rubber to quickly swell, deteriorate, and potentially shed damaging particles into the expensive transmission system, leading to internal component failure.
- Temporary vs. Permanent Fix If an emergency repair is necessary to get the vehicle home, use only a hose explicitly labeled as oil- and heat-resistant hose and secure it with high-quality screw-type clamps. However, replace this temporary fix with a proper metal line or professional-grade repair fitting immediately to prevent long-term failure.
- Use Proper Repair Kits The correct long-term repair involves cutting out the damaged section of the metal line and using a dedicated, high-pressure transmission line splice kit. These kits use robust compression fittings or double-flared ends designed to mate securely with ATF-rated steel or flexible hose components.
Conclusion
Successfully repairing your rubber hose ensures that minor damage doesn’t lead to system failure or premature replacement. By selecting the appropriate repair kit or splicing method for the tear, you can create a strong, sealed connection that restores the hose’s functionality and pressure capability effectively.
Regular inspection and timely repair are key components of preventative maintenance for any fluid transfer system. A well-executed repair is a cost-effective and immediate solution that prolongs the life of the hose, preventing small problems from escalating into expensive breakdowns.
For all your industrial, hydraulic, or custom-application needs, turn to reliable manufacturing. When it’s time to replace or upgrade your inventory, ensure you are investing in quality by choosing to get wholesale rubber hoses from our Gushan Rubber. We offer a durable and extensive selection to meet every demanding specification.