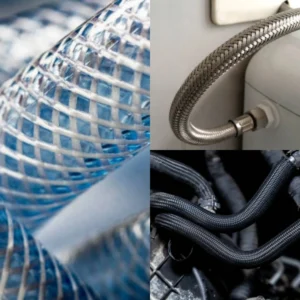
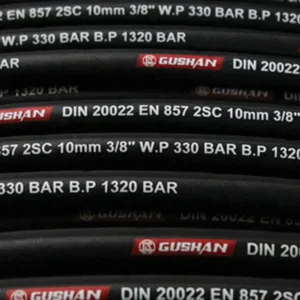
Hydraulic hoses are essential components in many heavy machinery and equipment, including construction machinery, agricultural equipment, and industrial machinery. These hoses are subjected to high pressure and harsh conditions, which can lead to wear and tear, leaks, and ultimately, failure. A failed hydraulic hose can result in costly downtime and potential safety hazards.
In this blog post, we’ll delve into hydraulic hose repair. We’ll discuss the common causes of hydraulic hose failure, the tools and materials needed for repair, and step-by-step instructions on how to repair a hydraulic hose. Whether you’re a seasoned mechanic or a DIY enthusiast, this guide will provide you with the knowledge and skills to tackle hydraulic hose repairs effectively.
Hydraulic Hose Repair Cost
The cost to hydraulic hose fix can vary depending on several factors, including:
- Hose Size and Type: Larger, more specialized hoses will generally cost more.
- Hydraulic Hose Length: Longer hoses will naturally cost more.
- Fittings: The type and number of fittings required will impact the cost.
- Labor Costs: The labor cost for cutting, crimping, and installing the hose can vary depending on the location and technician’s expertise.
- Additional Services: If any additional services are required, such as system flushing or pressure testing, the cost will increase.
General Cost Range:
- Basic Hydraulic Hose: $20 – $150
- Heavy-Duty Hydraulic Hose: $100 – $150 per 100ft
Tips for Minimizing Costs:
- DIY Repair: If you have the necessary tools and knowledge, you can save money by repairing the hose yourself. However, it’s important to ensure that the repair is done correctly to avoid potential safety hazards.
- Shop Around: Compare prices from different suppliers to find the best deal.
- Bulk Purchasing: If you need multiple hoses, consider purchasing them in bulk to get a discount.
- Preventive Maintenance: Regular inspection and maintenance of your hydraulic system can help prevent hose failures and reduce the need for costly repairs.
Additional Considerations:
- Safety: Hydraulic systems can be dangerous, so it’s important to take proper safety precautions when working on them.
- Warranty: Some hydraulic hoses come with a warranty, so it’s important to check the warranty terms before purchasing.
By considering these factors and following these tips, you can get a better idea of the cost of hydraulic hose repair and make informed decisions about your repair needs.
How to Repair Hydraulic Hose
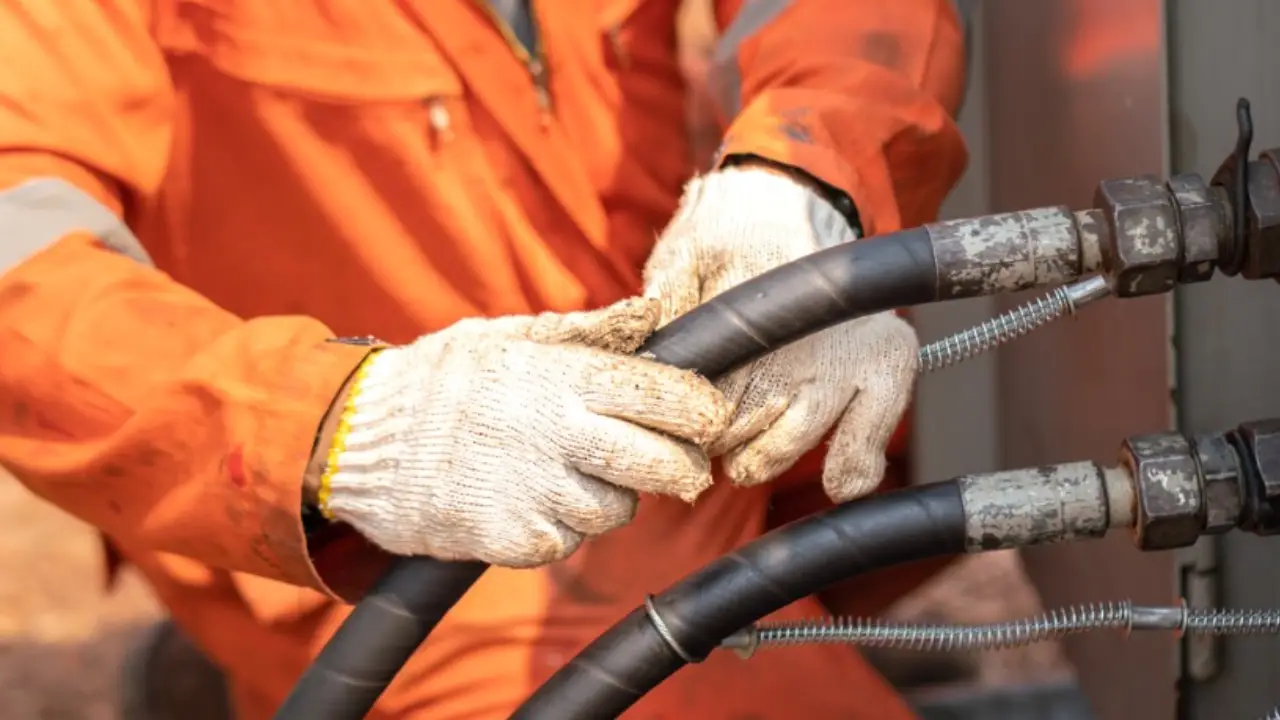
How to fix a hydraulic hose?
Disclaimer: While minor repairs can be attempted, it’s often safer and more efficient to replace a damaged hydraulic hose completely. If you’re unsure about the repair process, consult a professional hydraulic technician.
Before attempting any repair on a hydraulic hose, it’s crucial to prioritize safety. Here’s a breakdown of the safety precautions:
Step 1: Safety First
1. Shut Down and Cool Down:
- Power Off: Turn off all power sources to the machine, including the engine.
- Coolant System: Allow the hydraulic fluid to cool down completely. Hot fluid can cause severe burns if accidentally sprayed.
2. Relieve System Pressure:
- Operate Controls: Move hydraulic cylinders and attachments to their neutral positions to release pressure.
- Pressure Relief Valve: If equipped, use the valve to manually release pressure.
- Consult Operator’s Manual: Refer to the machine’s manual for specific instructions on pressure relief procedures.
3. Wear Protective Gear:
- Gloves: Protect hands from cuts, abrasions, and exposure to hydraulic fluid.
- Safety Glasses: Shield eyes from potential fluid splashes or debris.
- Protective Clothing: Wear clothing that covers exposed skin to prevent injury and contamination.
Step 2: Assessing the Damage
A thorough assessment of the damage is essential to determine the appropriate repair method.
1. Visual Inspection:
- Look for visible signs of damage such as cuts, cracks, bulges, or leaks.
- Check for any signs of wear and tear, particularly at the fittings and crimped areas.
2. Determine the Severity:
- Minor Damage: Small cuts or leaks can often be repaired using a repair kit.
- Major Damage: Severe damage, such as large cuts or internal damage, may require replacing the entire hose.
Step 3: Repairing Minor Hydraulic Hose Leaks
For minor leaks, a repair kit can be used to seal the damaged area.
1. Clean the Area:
- Wipe the area around the leak with a clean cloth to remove dirt, grease, and debris.
- Use a solvent cleaner, if necessary, to ensure a clean surface for the repair.
2. Apply the Repair Kit:
Follow the hydraulic hose manufacturer’s instructions for the specific repair kit.
Common repair methods include:
- Hydraulic Hose Clamps: Tighten the clamp securely around the damaged area to seal the leak.
- Hydraulic Hose Sleeves: Wrap the sleeve around the damaged area and secure it with a clamp or adhesive.
- Hydraulic Hose Repair Tape: Wrap the tape tightly around the leak, ensuring complete coverage.
3. Test for Hydraulic Hose Leaks:
- Operate the machine slowly and carefully, observing the repaired area for any signs of leakage.
- If the leak persists, reapply the repair or consider replacing the hose.
Step 4: Replacing a Damaged Hose
For major damage or recurring leaks, replacing the entire hose is the best solution.
1. Identify the Hose:
- Note the hose’s size (inside diameter), length, pressure rating, and end fittings.
- Consult the machine’s operator’s manual or contact the manufacturer for specific hose specifications.
2. Cut the Damaged Section:
- Use a sharp utility knife or tubing cutter to make clean cuts on either side of the damaged area.
3. Assemble New Fittings:
- Crimping Fittings: Use a hydraulic crimping tool to attach the new fittings to the hose ends. Ensure proper crimping depth and alignment.
- Threaded Fittings: Screw the fittings onto the hose ends, using thread sealant to prevent leaks.
4. Connect the Hose:
- Align the new hose with the original routing and secure it using hose clamps or other appropriate methods.
- Connect the hose fittings to the hydraulic system components, ensuring a tight and leak-free connection.
5. Bleed the System:
- Operate the machine’s controls to purge air from the hydraulic system.
- Check for leaks and adjust the system pressure as needed.
Step 5: Post-Repair Inspection
After completing the repair, it’s essential to conduct a thorough inspection to ensure the hose is functioning correctly.
1. Visual Inspection:
- Check for any signs of leaks, damage, or misalignment.
- Verify that the hose is securely fastened and routed properly.
2. Functional Test:
- Operate the machine under normal working conditions to assess the performance of the repaired hose.
- Monitor for any signs of leaks, pressure drops, or unusual noise.
3. Regular Maintenance:
- Regularly inspect hydraulic hoses for wear and tear.
- Replace hoses that show signs of aging or damage to prevent unexpected failures.
By following these steps and prioritizing safety, you can effectively repair or replace a damaged hydraulic hose.
How to Repair a Leaking Hydraulic Hose
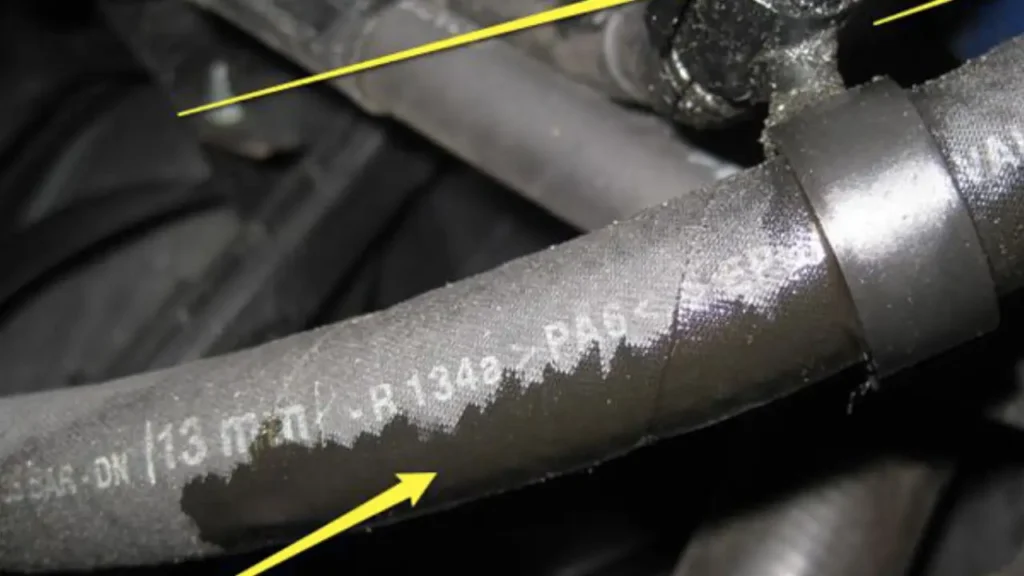
How to fix a leaking hydraulic hose
Signs of a Leaking Hydraulic Hose
A leaking hydraulic hose can lead to decreased performance, safety hazards, and costly repairs. Here are some common signs to watch for:
Visual Signs:
- Fluid Leaks:
- Visible drips or puddles of hydraulic fluid near the hose or its fittings.
- Wet or oily patches on the ground or machinery.
- Physical Damage:
- Cracks, cuts, or abrasions on the hose’s surface.
- Bulges or blisters in the hose, indicating internal damage.
- Loose or damaged fittings.
- Discoloration or corrosion on the hose or fittings.
Audible Signs:
- Hissing Sound: A high-pitched hissing sound may indicate a leak, especially if it’s accompanied by a visible fluid stream.
Performance Signs:
- Reduced Hydraulic Power: A leak can reduce the hydraulic system’s pressure, leading to slower or weaker performance.
- Erratic Equipment Movement: Inconsistent or jerky movements of hydraulically powered equipment can be a sign of a leak.
- Decreased Fluid Level: Regularly check the hydraulic fluid reservoir. A significant drop in fluid level may indicate a leak.
Other Signs:
- Hydraulic Fluid Smell: A strong hydraulic fluid odor in the area can indicate a leak.
- Unusual Noises: Unusual noises, such as grinding or squealing, may be caused by a lack of lubrication due to fluid loss.
If you notice any of these signs, it’s crucial to address the issue promptly to prevent further damage and potential accidents.
Remember: Hydraulic fluid can be harmful to the environment and human health. If you suspect a leak, take immediate action to contain the spill and repair the hose.
Here is a total guide telling you how to repair a leaking hydraulic hose in the following:
Safety First:
- Shut Down and Cool Down: Always turn off the machine and let it cool down completely before attempting any repairs.
- Relieve Pressure: Release the pressure in the hydraulic system using the appropriate method (e.g., operating controls, pressure relief valve).
- Wear Protective Gear: Use gloves, safety glasses, and protective clothing to avoid injury.
Repairing Minor Leaks:
- Locate the Leak: Pinpoint the exact location of the leak.
- Clean the Area: Remove dirt and debris around the leak to ensure a clean surface.
- Apply a Hydraulic Hose Repair Kit: Follow the instructions on the repair kit to apply the sealant or clamp to the damaged area.
- Test for Leaks: After the repair, operate the machine at low pressure to check for any remaining leaks.
Replacing a Damaged Hose:
- Identify the Hose: Note the hose’s size, type, and fittings.
- Cut the Damaged Section: Carefully cut out the damaged portion of the hose, ensuring a clean cut.
- Assemble New Fittings: Attach new fittings to the cut ends of the hose using specialized crimping tools.
- Connect the Hose: Install the repaired hose, ensuring correct alignment and secure connections.
- Bleed the System: If necessary, bleed the hydraulic system to remove air bubbles.
Important Considerations:
- Professional Repair: For complex repairs or high-pressure systems, consider consulting a hydraulic specialist.
- Hose Quality: Use high-quality hoses and fittings to ensure durability and safety.
- Crimping Tools: If crimping is required, use proper tools to ensure a secure and leak-proof connection.
- Hydraulic Fluid Compatibility: Ensure that the replacement hose and fittings are compatible with the hydraulic fluid used in your system.
Remember: Hydraulic systems can be dangerous if not handled properly. If you’re unsure about any step, seek professional assistance.
Visual Aid:
Would you like to know more about specific hydraulic hose repair techniques or troubleshooting tips?
Quick Fix Hydraulic Hose Repair
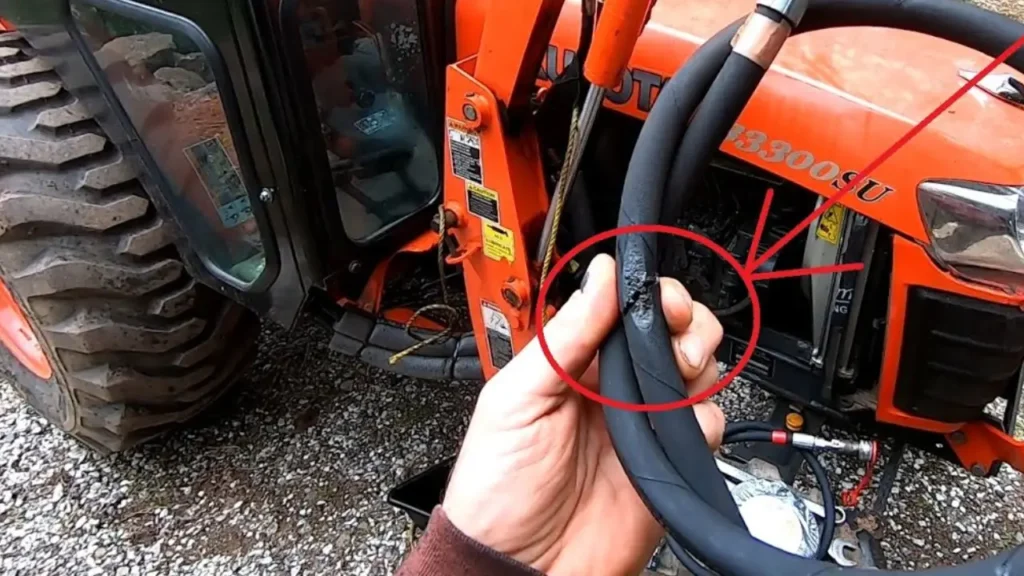
While there are quick-fix solutions for hydraulic hose repairs, it’s crucial to understand that these are temporary measures and should be replaced with a proper repair or a new hose as soon as possible.
Here are some quick-fix options:
- Hose Clamps: These clamps can be used to seal small leaks or punctures in a hose. However, they are not suitable for high-pressure applications and should only be used as a temporary solution.
- Hydraulic Hose Repair Kits: These kits typically include a section of hose, fittings, and crimping tools. They are designed for quick repairs in the field but may not be as durable as a professionally repaired hose.
- Hydraulic Hose Repair Sleeves: These sleeves can be used to repair small leaks or cuts in a hose. They are easy to apply and can be used on a variety of hose sizes.
Important Considerations:
- Safety: Always wear appropriate safety gear, including gloves and eye protection, when working with hydraulic systems.
- Pressure Rating: Ensure that the quick-fix solution you choose is rated for the pressure of your hydraulic system.
- Temporary Solution: Remember that these are temporary fixes and should not be relied upon for long-term use.
- Professional Repair: It’s always best to have a hydraulic hose repaired or replaced by a qualified technician to ensure safety and longevity.
If you’re unsure about how to repair a hydraulic hose or if the damage is severe, it’s best to consult with a professional.
Conclusion
Hydraulic hose repair is a critical task that requires precision and expertise. While minor leaks can often be temporarily fixed with repair kits, major damage necessitates replacement. Always prioritize safety by relieving pressure and wearing protective gear before attempting any repairs.
If you’re dealing with hydraulic hose issues on your machinery, consider investing in custom hydraulic hoses tailored to your specific needs. Our team of experts can design and manufacture hoses that meet the highest industry standards, ensuring optimal performance and longevity.
Don’t let hydraulic hose problems slow down your operations. Contact us today to discuss your custom hydraulic hose requirements. We’ll work with you to find the perfect solution for your specific application.


