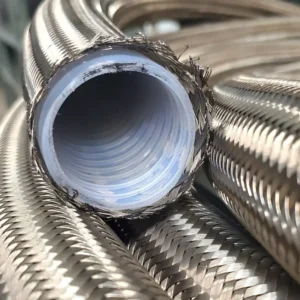
Hydraulic hoses are critical components in many industrial systems, but they can sometimes develop leaks or small damages. In such cases, patching the hose can be a quick and effective solution to avoid costly downtime. Knowing how to patch a hydraulic hose properly ensures your equipment continues running efficiently until a permanent fix is possible.
In this blog, we’ll walk you through the necessary steps to patch a hydraulic hose safely. By following the right procedures and using the correct tools, you can minimize the impact of hose damage and keep your system operational until a full replacement is made.
What Is a Hydraulic Hose Patch?
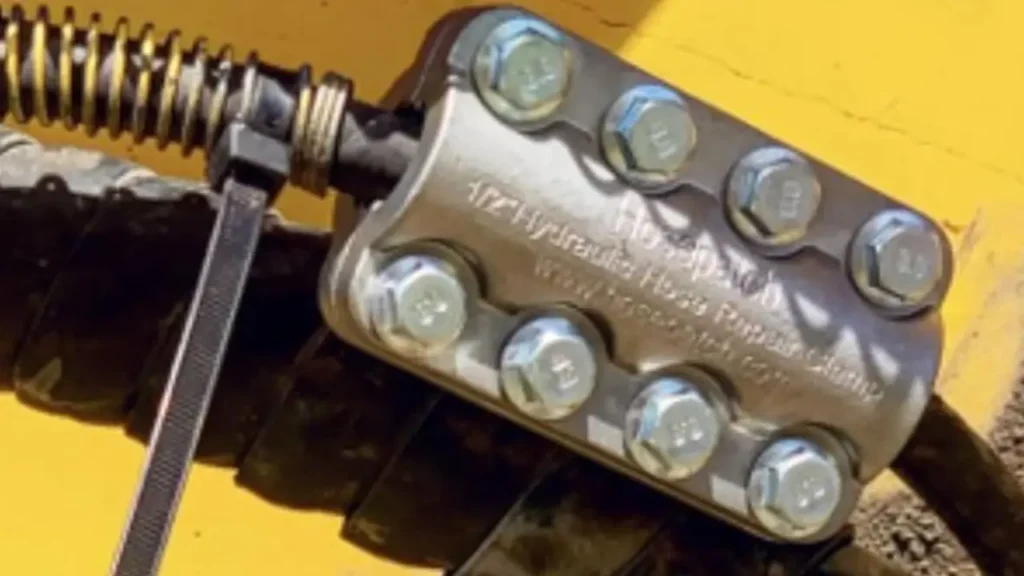
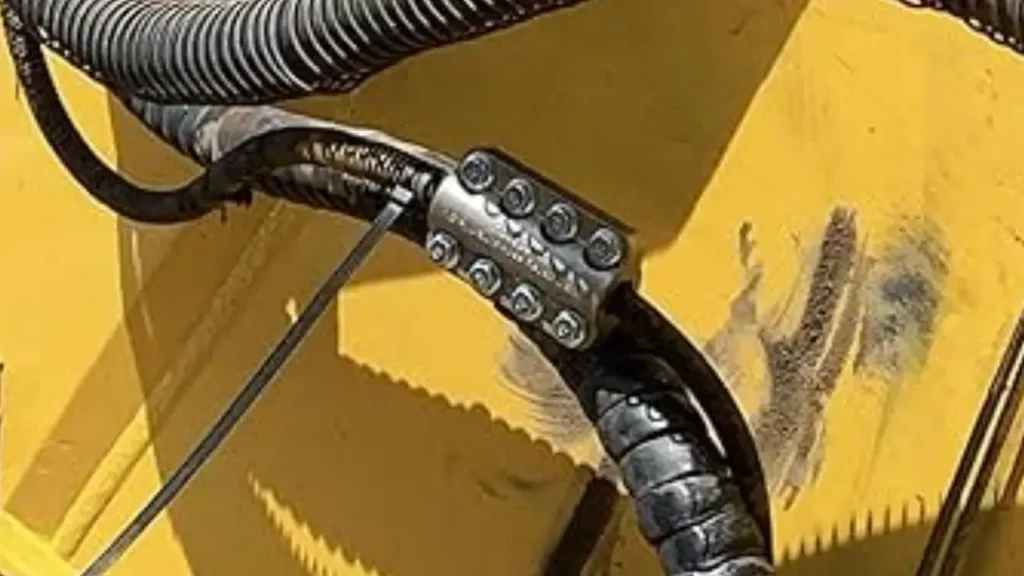
A hydraulic hose patch is a temporary repair solution for damaged hydraulic hoses. It’s typically a clamp or a sleeve that can be applied to a small leak or puncture in the hose. While it can be a convenient way to extend the life of a hose, it’s important to note that it’s a temporary fix and should not be considered a permanent solution.
Key points to remember:
- Temporary Solution: A hydraulic hose patch is meant to be a temporary fix until a proper replacement can be made.
- Limited Durability: The effectiveness of a patch depends on the severity of the damage and the quality of the patch kit.
- Safety Considerations: Always follow the manufacturer‘s instructions and safety guidelines when using a hydraulic hose patch.
- Professional Hydraulic Hose Repair: For more significant damage or frequent repairs, consult a hydraulic hose specialist.
It’s crucial to prioritize safety when dealing with hydraulic systems. If you’re unsure about repairing a hydraulic hose yourself, it’s best to seek professional assistance.
How to Patch a Hydraulic Hose?
Patching a hydraulic hose is a practical, short-term solution to avoid downtime when a hose becomes damaged. Whether you’re dealing with a puncture or a crack, knowing how to patch the hose properly can help keep your system running until a replacement can be arranged.
Follow the steps below to ensure a secure and safe temporary fix.
Tools Needed:
- Hydraulic hose repair kit
- Hose clamps
- Hose cutter or scissors
- Durable tape or rubber patch
- Wrench
- Safety gloves
Step 1: Identify the Damage
Before patching the hydraulic hose, thoroughly inspect it to locate the leak or damaged section. It’s essential to examine the hose carefully for any punctures, abrasions, or cuts that may be causing the issue. Mark the exact spot where the damage is located to avoid patching the wrong area.
Once you’ve identified the damaged section, ensure the system is fully depressurized and disconnected from any power source. This will prevent any accidental fluid discharge or pressure buildup during the repair process. Always wear safety gloves to protect your hands from hazardous fluids or sharp hose edges.
Step 2: Prepare the Hose
Using a hose cutter or scissors, carefully trim away any frayed or damaged parts of the hose. Clean the surrounding area to remove debris or hydraulic fluid, ensuring the surface is dry. This helps to create a solid bond when applying the patch, preventing leaks from forming around the damaged area.
After cutting and cleaning the hose, slide the hose clamps over both ends of the damaged section. These clamps will hold the patch in place once applied, ensuring a secure temporary fix. Make sure the ends of the hose are clean and free from any foreign objects before continuing with the patching.
Step 3: Apply the Patch
Take the rubber patch or durable tape from the repair kit and begin wrapping it tightly around the damaged area. Ensure that the patch fully covers the puncture or crack, with a few extra layers for added strength. This creates a tight seal to prevent leaks and helps keep the hose in operation temporarily.
Once the patch is securely wrapped around the hose, slide the hose clamps over the patched section to hold it in place. Tighten the clamps carefully, ensuring the patch is snug and won’t shift during use. The patch should fit tightly enough to prevent fluid leakage while maintaining pressure in the system.
Step 4: Test the Repair
After applying the patch and securing it with the clamps, carefully re-pressurize the system and monitor the patched area for leaks. Allow the system to reach its usual operating pressure while closely inspecting the hose for any signs of fluid escaping. If any leaks occur, adjust the patch or clamps accordingly.
Once the hose is tested and confirmed to be leak-free, you can proceed with normal operations. Remember, this patch is only a temporary fix. Be sure to replace the hose as soon as possible to avoid potential long-term damage to the system or equipment.
Hydraulic Hose Patch Kit
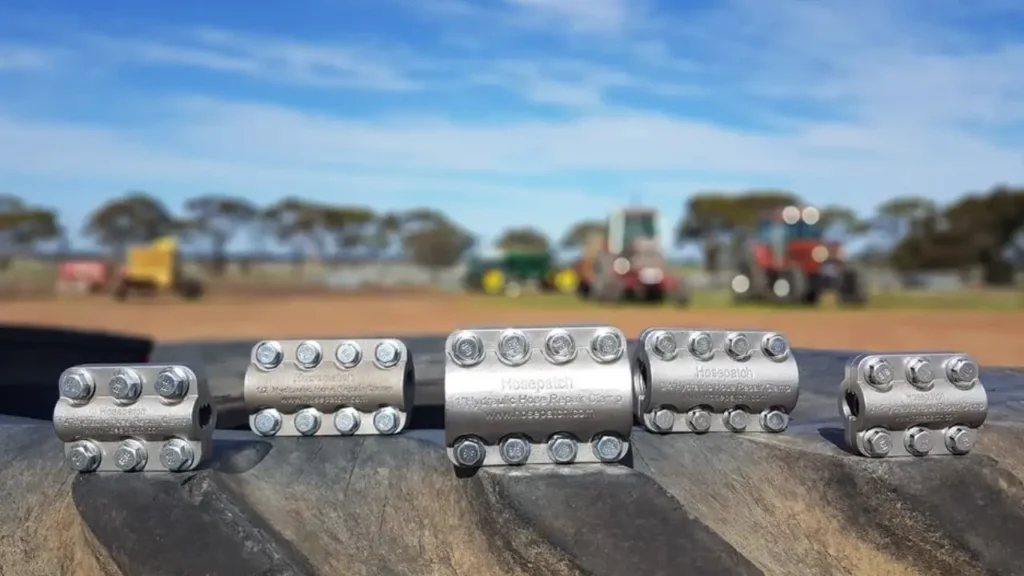
Hydraulic hose patch kits are designed to provide temporary repairs for damaged hydraulic hoses. They typically include clamps, sleeves, and adhesives to seal the damaged area.
Key Features of a Hydraulic Hose Patch Kit:
- Quick and Easy Repair: Can be applied in a short amount of time to minimize downtime.
- Durable and Reliable: Made from high-quality materials to ensure a secure and long-lasting repair.
- Versatile: Suitable for a wide range of hydraulic hose sizes and types.
- Portable: Compact and easy to carry, making it ideal for on-site repairs.
Important Considerations:
- Temporary Solution: A hydraulic hose patch kit is intended for temporary repairs. It’s crucial to replace the damaged hose as soon as possible.
- Follow Instructions: Always follow the manufacturer‘s instructions carefully to ensure a successful repair.
- Safety First: Wear appropriate safety gear, such as gloves and safety glasses, when working with hydraulic systems.
- Professional Repair: For complex repairs or frequent hose failures, consult a hydraulic specialist.
By using a hydraulic hose patch kit correctly and responsibly, you can extend the life of your hydraulic equipment and minimize downtime.
How to Make a Temporary Hydraulic Hose Patch?
A temporary hydraulic hose patch can be a lifesaver when you’re facing a damaged hose in an urgent situation. It provides a quick fix, allowing you to continue operations until a permanent replacement can be made. While a patch isn’t a long-term solution, it’s crucial for minimizing downtime and avoiding major system failures.
Tools Needed:
- Hydraulic hose repair kit
- Hose clamps
- Hose cutter or scissors
- Durable tape or rubber patch
- Wrench
- Safety gloves
Step 1: Identify the Damage
Before attempting to patch the hydraulic hose, carefully inspect it to locate the leak or damage. Mark the damaged area to ensure you’re patching the correct spot. It’s important to address minor issues early, as ignoring them can lead to more severe damage.
Once the area is identified, make sure the system is depressurized and safe to work on. Wear safety gloves to protect your hands from sharp edges and any residual hydraulic fluid. Always follow safety protocols before starting repairs to avoid injuries.
Step 2: Prepare the Hose
Use a hose cutter or scissors to cut away any damaged or frayed portions of the hose. Ensure that the area surrounding the cut is clean and free of debris to create a secure seal. If necessary, remove any excess material that could interfere with the patching process.
Once the hose is cut to the appropriate length, slide the hose clamps over the ends of the hose where the patch will be applied. This will help secure the hose once the patch is in place, preventing it from slipping or shifting during use.
Step 3: Apply the Patch
Take the rubber patch or durable tape from your repair kit and wrap it around the damaged area of the hose. Make sure the patch is snug and covers the entire damaged section to prevent leaks. Wrap it tightly to ensure a secure fit.
After the patch is applied, tighten the hose clamps around the hose ends to hold the patch in place. Check that the patch is firm and won’t move during operation. This will provide a temporary seal until you can replace the hose fully.
Step 4: Test the Repair
After applying the patch, re-pressurize the hydraulic system carefully and monitor the patch for any signs of leakage. Check the patched area regularly to ensure it holds up under pressure. If any leaks are detected, further tighten the clamps or reapply the patch.
Once you confirm that the patch holds and no leaks are visible, proceed with normal operations. Always plan to replace the hose as soon as possible, as the patch is only a temporary solution and will not last indefinitely under continuous pressure.
Types of Hydraulic Hose Damage
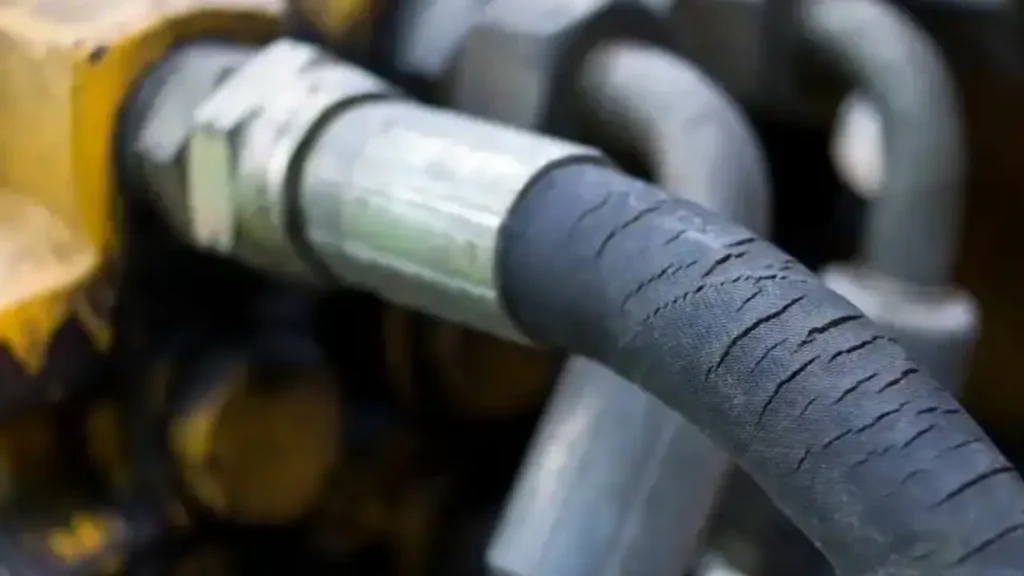
Hydraulic hoses can experience various types of damage over time, each with its own set of causes and consequences. Identifying these damages early can prevent serious issues and costly repairs.
Here are the common types of hydraulic hose damage:
- Abrasion Damage: This occurs when the hose rubs against surfaces or other components, wearing down the outer layer. Over time, the exposed inner material can be compromised, leading to leaks. Regular inspections and protective covers can help prevent abrasion damage.
- Pinching: Pinching happens when the hose is bent too sharply or subjected to excessive pressure, causing it to collapse internally. This restricts fluid flow and can cause rupture or leaks. Avoid tight bends and ensure proper hose routing to prevent this damage.
- Cracking or Blistering: Exposure to extreme temperatures, UV radiation, or harsh chemicals can cause the hose material to crack or blister. These cracks weaken the hose, making it prone to leaks and failure. Using hoses designed for specific environmental conditions can reduce the risk of cracking or blistering.
- Bursting: Hydraulic hose bursting occurs when the internal pressure exceeds the hose’s rated capacity, often due to pressure spikes or system malfunctions. This leads to catastrophic hose failure. Regular monitoring of pressure levels and using hoses rated for higher pressure can prevent bursts.
- Chemical Damage: Some hydraulic fluids or chemicals can degrade the hose material, weakening it over time. This type of damage often results in leaks or hose failure. Choosing hoses made of materials compatible with the fluids in your system is crucial to avoid chemical damage.
Conclusion
Patching a hydraulic hose is a temporary but valuable solution to prevent system downtime. By following proper repair methods, you can extend the life of the hose and maintain smooth operation. Ensure that you use the right materials and techniques for a secure patch to avoid further issues.
It’s important to remember that patching is not a permanent fix. While it can keep your system running temporarily, you should replace the hose as soon as possible to avoid potential risks. Regular inspections can help you detect issues before they become severe.
For durable and reliable hydraulic hoses, Gushan Rubber offers wholesale options that meet high industry standards. Reach out to us today for premium hydraulic hoses designed to withstand your system’s demands and ensure long-term performance.