Fabricating a propane hose is not a simple DIY project; it is a specialized industrial process critical for safety. This guide explores the intricate, multi-layered manufacturing steps required to create a certified hose. We will detail the materials, machinery, and rigorous standards that turn raw components into a flexible, high-pressure gas conduit.
The high pressure and flammable nature of LPG demand professional-grade construction. Creating a safe propane hose involves strict quality control, including selecting chemical-resistant rubber and performing precise hydraulic crimping. Understanding this complex assembly process is vital, emphasizing why only professionally manufactured hoses should ever be used.
What are Propane Hoses

Before we dive into the manufacturing process, let’s first understand what a propane hose is and how it works. A propane hose is used to deliver propane gas from a tank to your equipment. It needs to be able to withstand the pressure of the propane, prevent leaks, and resist abrasion.
Propane hoses are typically made up of multiple layers: an inner tube made of a propane-resistant material, such as synthetic rubber; a reinforcement layer, usually made of braided fibers or wire, for added strength; and an outer protective layer to protect against environmental factors.
Propane Hose Uses
Propane hoses are indispensable components across a vast spectrum of applications, serving as the essential, flexible link between the fuel source and the burner. Their primary function is the safe and regulated delivery of high-pressure liquefied petroleum gas (LPG). These hoses are segmented into different categories based on the pressure they carry, ensuring specialized applications are handled safely and efficiently, from backyard leisure to heavy industry.
- Residential Grills & Heaters These low-pressure applications typically use a hose assembly that incorporates a regulator to step down tank pressure. They are vital for powering outdoor appliances, including barbecue grills, patio heaters, fire pits, and portable camp stoves, making them central to outdoor living and recreational cooking setups.
- Recreational Vehicles (RVs) and Camping Propane hoses in RVs connect main tanks or cylinders to onboard systems. They fuel appliances like refrigerators, water heaters, and furnaces, ensuring comfort on the road. Due to constant movement, these hoses need superior flexibility and weather-resistance to endure various travel conditions.
- Commercial and Food Service High-flow hoses are crucial in the food industry, connecting large propane cylinders to commercial deep fryers, cooktops, and industrial ovens. Their design handles higher BTU demand and features durable construction to withstand the demanding, high-volume environment of commercial kitchens and food trucks.
- Industrial and Construction Equipment In non-residential settings, heavy-duty hoses transfer high-pressure propane to power machinery. Uses include fueling internal combustion forklifts, operating industrial torches for welding and heating, and supplying construction heaters to cure concrete and warm temporary workspaces in cold weather.
How to Make a Propane Hose?

The factory production of a certified propane hose is a precise, multi-stage engineering process. It requires specialized machinery, materials, and stringent quality control to ensure safe, high-pressure gas containment, moving far beyond simple assembly.
Step 1: Material Preparation and Mixing
Propane hoses start with mixing raw materials, primarily specialized synthetic rubber polymers like Nitrile Butadiene Rubber (NBR). This critical compounding phase ensures the inner tube material achieves maximum resistance to propane’s corrosive nature and maintains extremely low gas permeation rates.
The rubber compound is carefully mixed with curing agents, carbon black, and other additives under controlled temperature and pressure. This proprietary mixture determines the hose’s chemical compatibility, flexibility, and overall performance characteristics under high pressure.
Step 2: Inner Tube Extrusion
The chemically resistant NBR compound is heated and forced through a die to form the seamless, gas-tight inner tube. This process, called extrusion, establishes the hose’s precise interior diameter and wall thickness.
Maintaining uniform dimensions throughout the entire length is essential for consistent gas flow and structural integrity. A clean, smooth inner surface is vital to minimize friction and prevent the collection of contaminants within the hose.
Step 3: Reinforcement Layer Application
Immediately over the inner tube, a layer of high-tensile braided textile, usually polyester or nylon, is applied. This reinforcement is braided or spiraled onto the tube using specialized equipment.
This layer is the primary defense against internal pressure, giving the hose its burst strength and resistance to kinking. Multiple plies may be applied at opposing angles to maximize strength and flexibility for demanding applications.
Step 4: Outer Cover Extrusion
The final layer of the hose, the outer cover, is applied, typically using durable EPDM or Chloroprene (CR) rubber. This outer jacket protects the inner layers and reinforcement from external wear.
The cover is extruded over the reinforced core to shield it from environmental damage like UV rays, ozone, moisture, and abrasion. For gas containment, this cover is often perforated to allow any permeated gas to safely vent.
Step 5: Vulcanization (Curing)
The newly constructed hose is subjected to high heat and pressure inside a vulcanizer. This curing process chemically cross-links the rubber molecules, giving the hose its final, permanent physical properties.
Vulcanization dramatically increases the rubber’s elasticity, tensile strength, and temperature resistance. This step transforms the raw components into the flexible, durable product required to meet gas industry performance standards.
Step 6: Cutting and Fitting Attachment
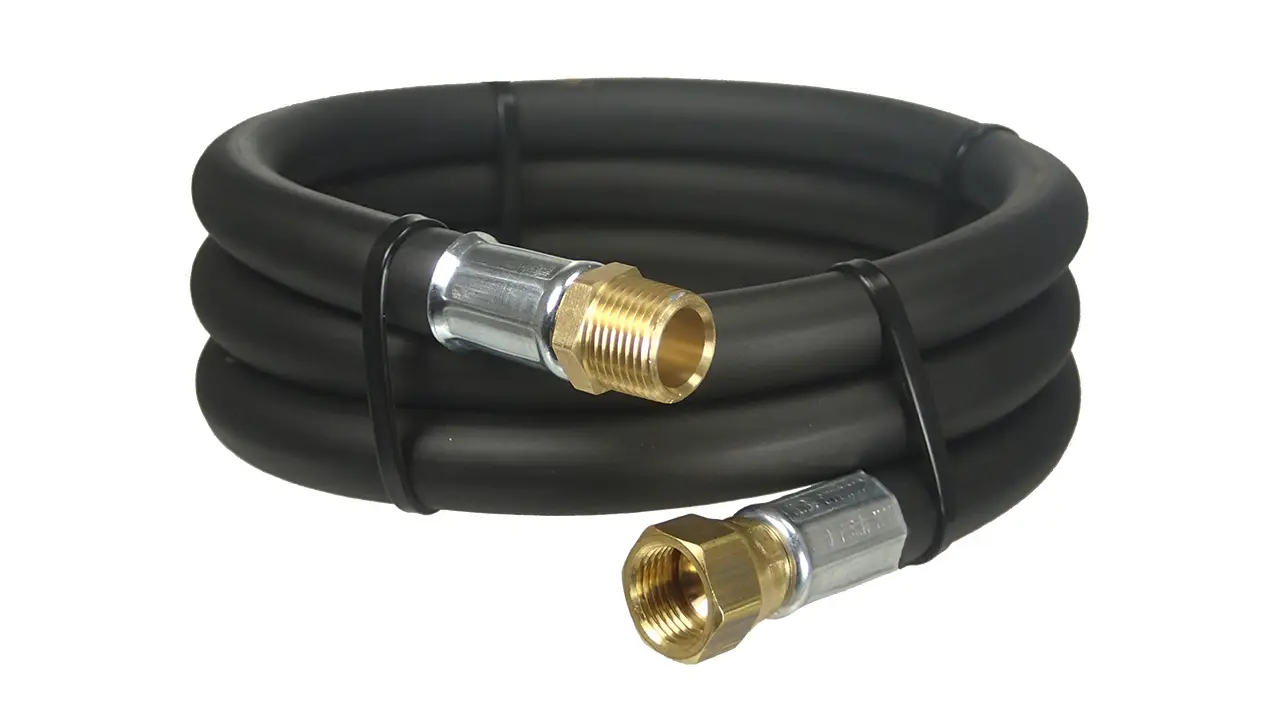
After cooling and final dimensional checks, the bulk hose is cut to specific finished lengths. Brass or steel end fittings, such as POL, QCC1, or quick-connects, are inserted onto the cut ends.
The fittings are then permanently secured to the hose using specialized, high-force hydraulic crimping machines. Proper crimping forms a gas-tight, non-reusable seal, a critical safety element preventing fitting detachment under pressure.
Step 7: Leak and Pressure Testing
Every finished hose assembly must undergo rigorous testing to ensure product safety before leaving the factory. This involves pressurizing the hose with air or an inert gas.
The assembly is checked for leaks, often submerged in water or using electronic detectors, to verify the integrity of the hose material and the crimped connections. Only hoses that pass this stringent pressure test are certified, marked, and packaged for shipment.
Propane Hose Assembly
A propane hose assembly is the complete, finished product ready for use, consisting of the flexible hose itself, its end fittings, and often a regulator. This assembly ensures safe and effective gas delivery from the tank to an appliance.
Step 1: Hose Preparation and Cutting
The bulk hose, manufactured in multi-layered lengths from specialized synthetic rubber and reinforcement, is first measured precisely. A dedicated cutting machine then cleanly and squarely cuts the hose to the required final length.
Accurate cutting is vital to ensure proper, secure attachment of the end fittings. Uneven or frayed ends will compromise the gas-tight seal, leading to an unsafe assembly that risks dangerous propane leaks.
Step 2: Fitting Insertion
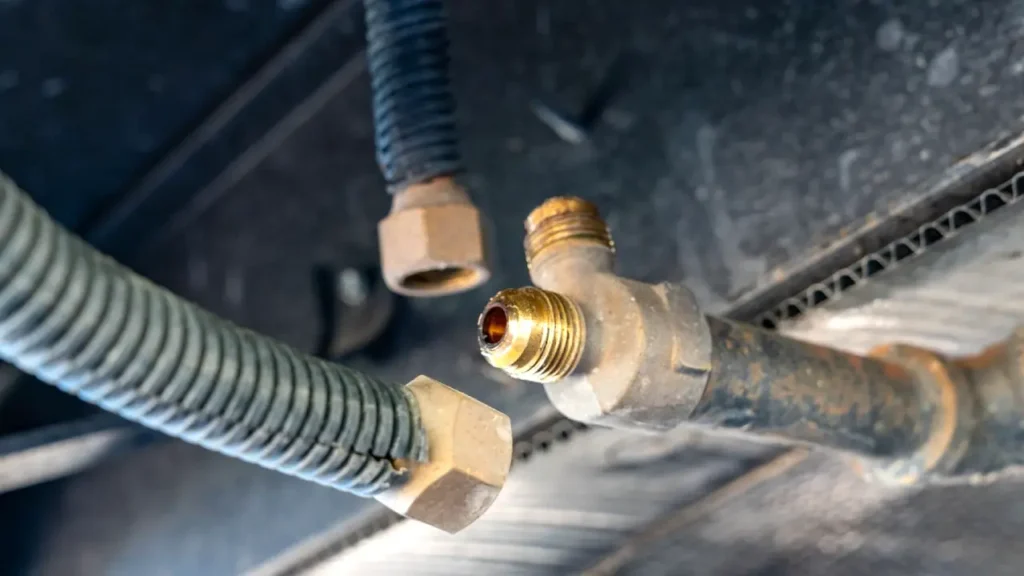
The appropriate fittings—such as POL, QCC1 (Type 1), or various flare connectors—are inserted into the hose ends. These brass or steel fittings are designed to be chemically compatible with the gas.
Fittings are crucial as they interface with the propane tank and the appliance. They must be positioned correctly and fully seated to prepare for the high-pressure sealing process that is to follow.
Step 3: Hydraulic Crimping
Once fittings are in place, the assembly is moved to a powerful hydraulic crimping machine. This device applies immense, calibrated pressure to the metal collar surrounding the hose and fitting.
Crimping permanently and securely locks the fitting onto the hose body, forming a non-reusable, high-pressure, gas-tight seal. This step is non-negotiable for safety and prevents the fitting from separating under system pressure.
Step 4: Regulator Integration (If Applicable)
For low-pressure applications (like grills), a regulator is often incorporated into the assembly, typically attached at one end. The regulator’s function is to control and reduce the high tank pressure.
The regulator is securely attached to its designated fitting, often using threads and a sealant to ensure an air-tight connection. This component is essential for preventing damage to appliances and maintaining a stable flame.
Step 5: Leak and Pressure Testing
Every finished hose assembly undergoes a final quality assurance process. It is pressure-tested, usually with air or an inert gas, at or above its maximum working pressure rating.
The assembly is checked with a soapy solution or specialized electronic detectors at all connection points, including crimps and threads. Only assemblies confirmed to be leak-free are certified and labeled for consumer use.
The Safe and Responsible Approach
Given the enormous risks involved, the only safe and responsible approach is to purchase pre-made, certified propane hoses from a reputable supplier. These hoses are readily available, affordable, and most importantly, designed and tested to be safe.
Key Considerations When Buying
When selecting a new propane hose, keep these crucial points in mind:
- Prioritize Certifications: Always confirm the hose has UL Listed or CSA Certified markings printed directly on its exterior. This is a non-negotiable safety requirement.
- Correct Length and Fittings: Choose a hose that is the appropriate length for your specific application. Avoid using excessively long hoses, as they can pose trip hazards and may lead to slight pressure drops. Crucially, ensure the fittings match both your propane tank (e.g., QCC1, POL) and your appliance (e.g., flare fitting, quick connect).
- Hose Type: Match the hose to your appliance’s BTU requirements and pressure needs. For example, a standard grill hose differs from a high-pressure hose used for industrial burners.
- No Visible Damage: Even for brand-new hoses, perform a quick visual inspection before purchase. Look for any kinks, cuts, cracks, bulges, or excessive wear.
- Manufacturing Date: While hoses don’t have a strict expiration date, many manufacturers recommend replacement every 5-10 years. A newer hose provides greater peace of mind regarding material integrity.
Essential Propane Hose Care and Maintenance
Even with a certified propane hose, proper care and routine maintenance are vital for its longevity and continued safe operation. Neglecting these simple steps can compromise even the best hose.
Routine Visual Inspections
Make it a habit to perform a quick visual inspection before each use of your propane appliance.
- Check for Damage: Look for any visible cracks, cuts, bulges, abrasions, kinks, or signs of material wear along the entire length of the hose. Pay particular attention to areas near the fittings, as these are common stress points.
- Look for Discoloration: Excessive fading or discoloration on the outer cover can indicate prolonged UV exposure, which can degrade the rubber over time.
- Inspect Fittings: Check the metal fittings for any signs of corrosion, dents, or deformation that might compromise the gas seal.
Conclusion
In summary, the journey of making a propane hose is one of precision engineering, moving far beyond basic assembly. It requires extruding specialized nitrile rubber, applying high-tensile textile reinforcement, perforating the outer cover for safety, and performing high-pressure leak testing. This complexity ensures every hose can reliably handle volatile gas.
The safety of any propane system depends entirely on using certified components that comply with stringent standards like UL 21 and CSA 8.1. These certifications verify the hose’s material integrity, burst pressure rating, and resistance to permeation. Always prioritize safety by sourcing hoses made through this rigorous industrial process.
For distributors and businesses, quality and compliance are non-negotiable. Ensure your inventory meets the highest international safety standards with products engineered for performance and durability. You can confidently get wholesale propane rubber hoses from our trusted manufacturing line at Gushan Rubber—your partner for certified gas conveyance solutions.