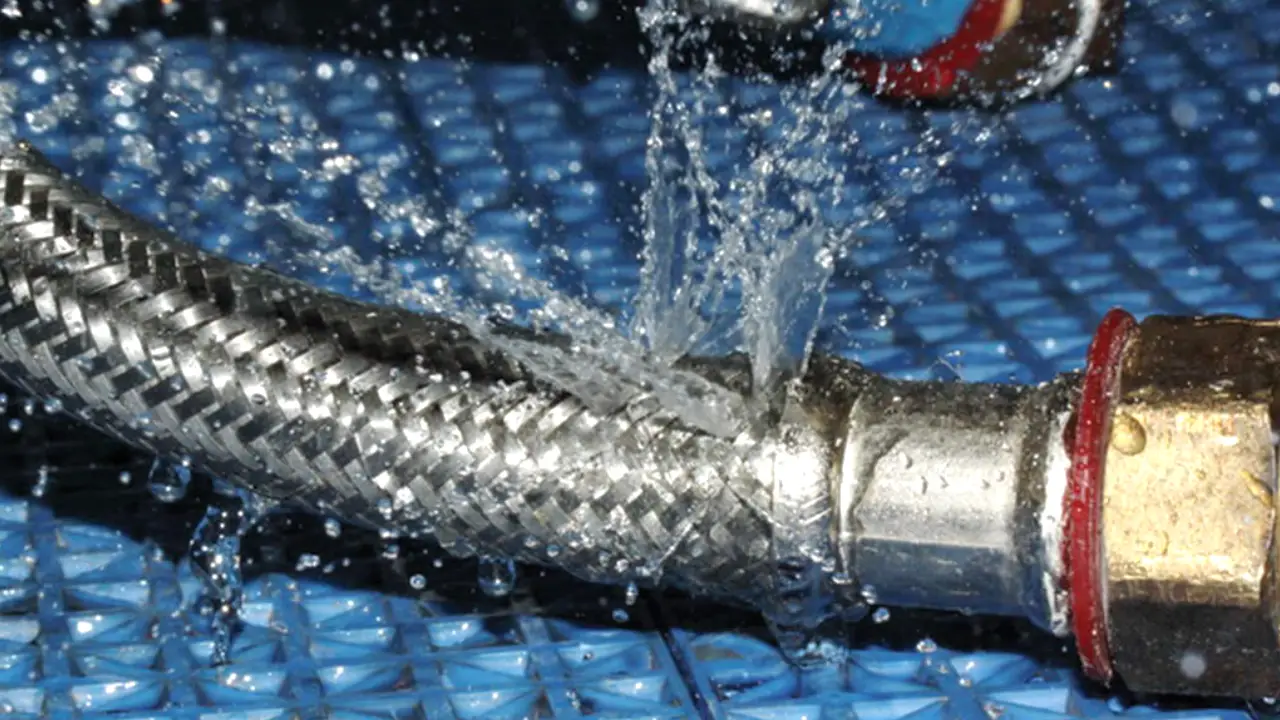
A leaking braided hose can disrupt your plumbing, automotive, or industrial systems, causing inefficiency, damage, or safety risks. Identifying the cause of the leak and knowing the proper repair techniques can save time, money, and prevent further issues. Our step-by-step guide walks you through the process clearly and effectively.
In this guide, we cover everything from diagnosing common leak causes to practical repair methods, including tightening, sealing, or replacing components. Whether you are a DIY enthusiast or a professional, our instructions help you restore your braided hose to full functionality safely and reliably.
Why Do Braided Hoses Leak?
Braided hoses are essential for many plumbing and automotive applications, but leaks can occur due to several factors. Understanding why these hoses fail helps prevent damage, maintain safety, and extend hose life. We explain the common causes of leaks and how to address them effectively.
- Wear and Tear: Over time, braided hoses experience natural wear and tear from constant pressure, temperature changes, and bending. We monitor hose condition to prevent deterioration, replacing worn sections before they fail. Proper maintenance ensures the hose remains strong, flexible, and leak-free under daily use.
- Improper Installation: Incorrect installation, such as overtightening or misalignment, can damage the hose or fittings. We carefully guide installation to avoid stress points, ensuring connections are secure without causing leaks. Properly installed hoses last longer, perform efficiently, and reduce the risk of sudden failures.
- Corrosion and Chemical Damage: Exposure to corrosive substances or harsh chemicals can weaken the hose or fittings. We select materials resistant to chemical attack and inspect hoses regularly. By preventing corrosion and chemical damage, we maintain the hose’s integrity and ensure safe, reliable fluid transfer.
- High Pressure or Temperature Fluctuations: Extreme pressure or sudden temperature changes can strain hoses beyond their capacity. We recommend hoses rated for your specific conditions and provide guidelines to manage stress. This reduces the risk of ruptures, prolongs hose life, and maintains consistent performance under challenging environments.
Can We Repair a Braided Hose?
Yes, braided hoses can often be repaired depending on the type and location of the damage. Small leaks or damaged fittings can sometimes be fixed by replacing the affected section or tightening connections. We carefully assess the hose to determine if a repair is safe and effective, ensuring continued reliable performance.
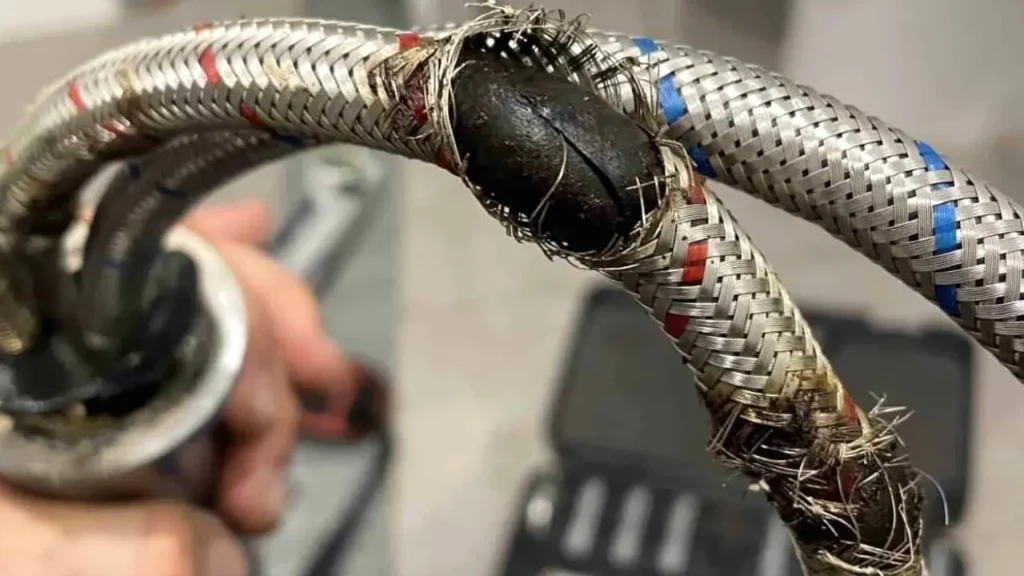
However, not all braided hose damage is repairable. Severe wear, extensive corrosion, or fraying of the braid usually requires a full replacement to maintain safety and functionality. We prioritize quality and safety, recommending replacement when necessary to prevent leaks, equipment damage, or potential hazards in your system.
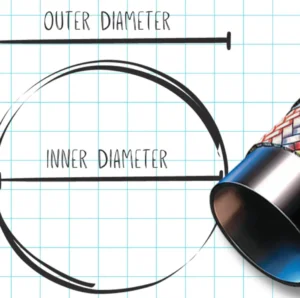
What is the Life Expectancy of a Braided Water Hose?
The life expectancy of a braided water hose depends on its material, usage, and maintenance. High-quality hoses made from stainless steel or reinforced synthetic materials typically last between 5 to 10 years under normal household or commercial conditions. Proper installation and careful handling also play a key role in longevity.
Frequent exposure to high water pressure, extreme temperatures, or harsh chemicals can reduce a hose’s lifespan. Regular inspections for signs of wear, fraying, or corrosion help prevent unexpected leaks and ensure safe operation. Timely maintenance can significantly extend the hose’s usable life.
Ultimately, even the best braided hoses will eventually need replacement. We recommend monitoring your hose’s condition regularly and replacing it at the first sign of damage or aging. This proactive approach helps avoid costly repairs, water damage, and safety hazards.
How to Fix a Leaking Braided Hose

If you’ve determined the leak is at the fitting, we can guide you through the process of fixing it. We follow a careful procedure to ensure the repair is safe and effective.
Step 1: Safely Depressurize the System
Before you do anything, you must relieve all pressure from the system. For a fuel line, this means shutting off the fuel pump and depressurizing the system according to the manufacturer’s instructions. For hydraulic systems, you must bleed the lines. Safety is our top priority, and working on a pressurized line is extremely dangerous.
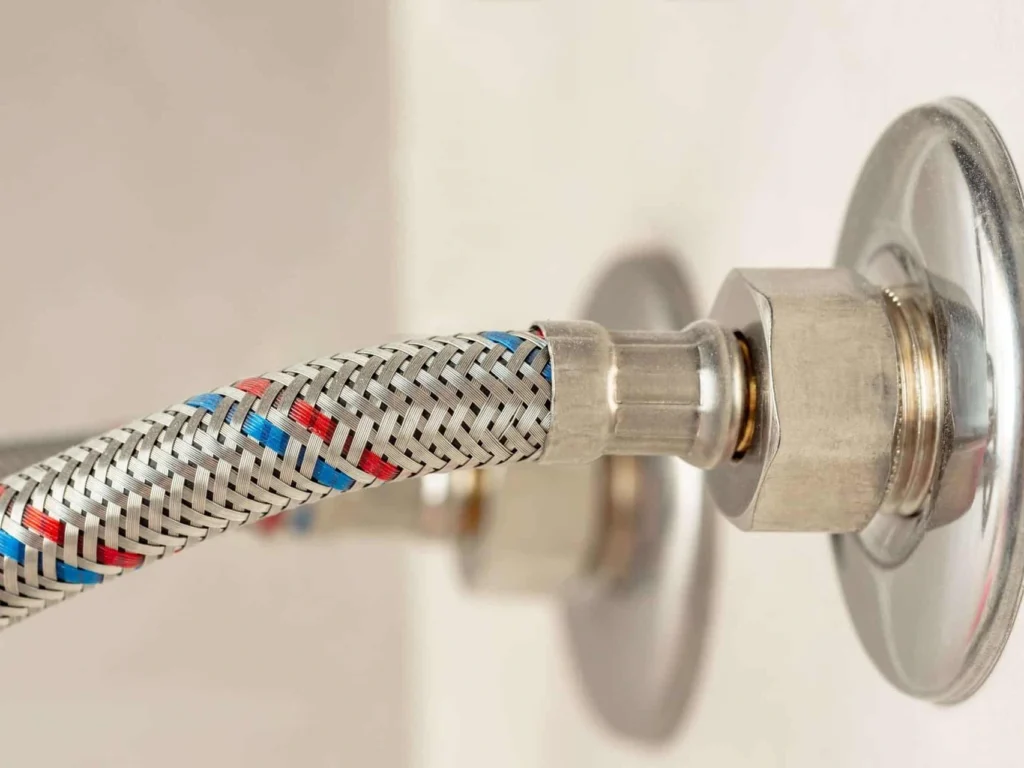
Step 2: Disconnect and Inspect the Fitting
Using the correct wrenches, we carefully disconnect the leaking fitting. We then thoroughly inspect the threads on both the hose fitting and the component it connects to. We look for any signs of damage, such as stripped or cross-threaded threads. We also inspect the sealing surface for any debris, nicks, or cracks.
Step 3: Check and Replace the Seal
Many braided hose fittings use an O-ring or a conical sealing surface to create a leak-proof connection. If a rubber O-ring is present, we check it for dryness, cracks, or damage. If it looks less than perfect, we replace it with a new O-ring of the exact same size and material. If the fitting uses a conical seal, we check for scratches or burrs on the sealing surface.
Step 4: Reconnect and Tighten the Fitting
With the threads cleaned and the seal replaced, we carefully re-thread the fitting back into the component. We always start by hand-tightening to avoid cross-threading.
Once we feel resistance, we use the correct wrenches to tighten it to the manufacturer’s specified torque. Over-tightening can damage the threads and cause a new leak, so we always use a torque wrench when possible.
Step 5: Test for Leaks
After the repair, we re-pressurize the system and carefully check for any signs of a leak. We use a flashlight and a paper towel to look for any moisture around the fitting. A small amount of liquid is still present, so we wait a few minutes to ensure no new leak is forming. If the leak is gone, the repair was successful. If not, the fitting or the hose end might be damaged beyond repair, and replacement is the only safe option.
What to Do if You Need to Replace the Hose
If the leak is not at the fitting—for example, if you see a pinhole in the middle of the hose or a leak at the crimp—your only safe option is to replace the hose. We offer this advice because we prioritize safety above all else. A damaged hose is a ticking time bomb, and attempting a patch or repair is a risk we would never take.
- Measure Twice: We advise customers to measure the old hose precisely to ensure the new one is the correct length.
- Buy Quality: We recommend purchasing new, high-quality braided hoses from reputable suppliers like us. Cheap hoses often use inferior materials and are more prone to failure.
- Proper Tools: Ensure you have the right tools to cut and install the new hose and fittings to avoid repeating the same mistakes.
Conclusion
Fixing a leaking braided hose doesn’t have to be complicated. By identifying the root cause, following step-by-step repair procedures, and taking proper safety precautions, you can restore your hose’s functionality efficiently. Regular maintenance and careful handling further prevent future leaks and ensure long-lasting performance.
While minor leaks can be repaired, it’s important to recognize when a hose needs replacement. Severe damage, corrosion, or fraying of the braid compromises safety and efficiency. Using high-quality hoses and inspecting them regularly helps avoid costly downtime and maintains the reliability of your systems.
For those looking to upgrade or replace hoses, get wholesale braided hoses from Gushan Rubber. We offer durable, high-performance braided hoses suitable for automotive, industrial, and home applications. Partner with us for reliable supply, competitive pricing, and solutions that ensure long-lasting efficiency and safety.