Over time, hoses can accumulate dirt, oil, and even develop minor issues that can compromise their integrity. In this guide, we’ll walk you through the basic steps for cleaning and inspecting your propane hoses to ensure they’re always in top condition for all of our grilling and heating needs. We’ll cover everything from basic cleaning to determining when they need to be replaced.
Why Cleaning Your Propane Hose Matters
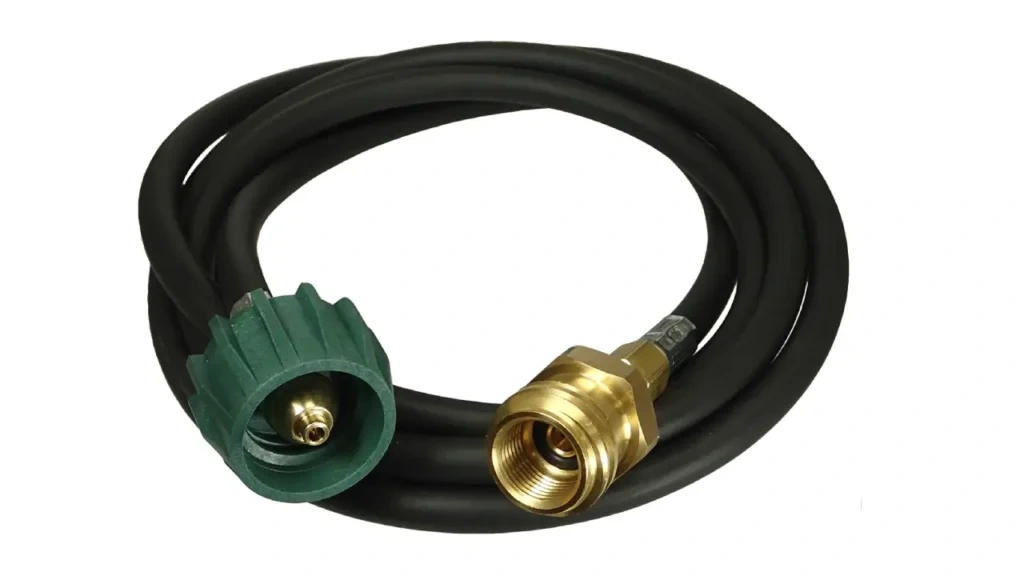
We often overlook the humble propane hose, but it plays a vital role in connecting our propane tank to our appliances. Just like any other piece of outdoor equipment, it’s exposed to the elements and can accumulate a surprising amount of dirt, grease, and debris. Neglecting its cleanliness can not only make your setup look unkempt but also hide potential issues that could lead to leaks or inefficient operation.
Understanding the Risks of a Dirty Hose
A dirty propane hose isn’t just an eyesore; it can pose several risks. Dust and grime can obscure small cracks or abrasions, making it harder to spot damage during routine inspections. Chemical residues or spills, if left uncleaned, might even degrade the hose material over time.
A buildup of debris around the connections could potentially interfere with a proper seal, increasing the risk of gas leaks. We prioritize a clean hose to ensure we’re always operating our propane appliances safely.
Gathering Our Cleaning Supplies
Before we dive into the cleaning process, we always make sure we have the right tools on hand. The good news is that you likely already have most of these items around your house. Using the correct supplies will ensure an effective clean without damaging the hose material. Here’s what we typically gather before we begin:
| Item | Purpose |
| Mild Soap (e.g., dish soap) | We use a gentle, non-abrasive soap to break down grease and dirt without harming the rubber or PVC of the hose. Avoid harsh chemicals like bleach or strong degreasers. |
| Warm Water | Essential for mixing with soap and rinsing the hose thoroughly. |
| Soft Brush or Sponge | We prefer a soft-bristled brush or a sponge to gently scrub away grime without scratching the hose’s surface. |
| Clean Cloths or Towels | For drying the hose completely after cleaning and for wiping down connectors. |
| Spray Bottle (Optional) | Can be useful for mixing a soap solution and applying it evenly, especially for larger hoses. |
| Gloves | To protect our hands from dirt and cleaning solutions. |
How to Clean Propane Hose?
Cleaning is quick and easy and doesn’t take long, but it’s an important part of our maintenance routine. We’ll guide you through each step to ensure your cleaning is thorough and safe.
Safety first: always make sure your propane tank is disconnected and turned off before you begin cleaning.
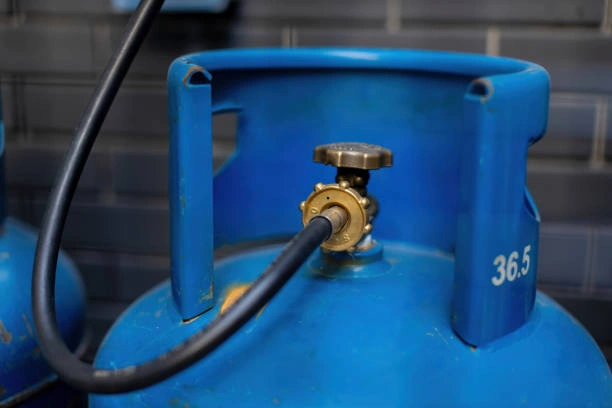
Step 1: Disconnecting the Hose Safely
This is perhaps the most crucial initial step. Before we do anything else, we always ensure our propane tank is completely shut off and disconnected from the hose. This eliminates any risk of gas leakage during the cleaning process.
We carefully unscrew the connector from the tank and from the appliance. It’s also a good idea to ensure there’s no residual pressure in the hose before handling it extensively.
Step 2: Preparing the Cleaning Solution
We typically mix a small amount of mild dish soap with warm water in a bucket or spray bottle. We aim for a soapy, but not overly sudsy, solution. The goal here is to create a gentle cleaning agent that can effectively lift dirt and grease without being corrosive to the hose material.
Avoid using any harsh detergents or solvents, as these can degrade the hose over time.
Step 3: Gentle Scrubbing for a Deep Clean
With our solution ready, we start by applying it to the entire length of the propane hose. We use a soft brush or sponge to gently scrub the surface. We pay particular attention to areas that look visibly dirty or greasy, and around the connectors where grime can accumulate.
The key here is gentle pressure; we’re aiming to remove surface dirt, not abrade the hose. For stubborn spots, we might let the soapy solution sit for a minute or two to help break down the grime.
Step 4: Thorough Rinsing
Once we’re satisfied with the scrub, we rinse the hose thoroughly with clean, warm water. It’s important to remove all soap residue, as leftover soap can attract new dirt or even become a bit sticky over time. We ensure the water runs clear from all parts of the hose, including the connectors. We often run water over the connections multiple times to ensure all soap is gone.
Step 5: Drying the Hose Completely
This step is just as important as cleaning. We never store or reconnect a damp propane hose. Moisture can lead to mildew growth and potentially accelerate the degradation of the hose material. We use clean cloths or towels to dry the exterior of the hose thoroughly. If possible, we also allow it to air dry completely in a shaded, well-ventilated area for several hours, or even overnight, before storing or reconnecting it. This ensures no moisture is trapped inside the connectors either.
Step 6: Inspecting After Cleaning
After the hose is sparkling clean and completely dry, we perform a thorough visual inspection. The cleaning process often makes it easier to spot any subtle issues that might have been hidden by dirt. We look for:
- Cracks or Fissures: Small lines or splits in the rubber.
- Bulges or Blisters: Swollen areas that indicate internal damage.
- Fraying or Cuts: Any signs of wear or damage to the outer layer.
- Kinks or Flat Spots: Areas where the hose has been bent sharply or compressed.
- Damaged Connectors: Rust, dents, or stripped threads on the brass fittings.
We also bend the hose gently in various places to check for hidden weaknesses. If we find any of these issues, it’s a clear sign that the hose needs to be replaced immediately.
When to Replace Your Propane Hose
Cleaning extends the life of our propane hoses, but it doesn’t make them immortal. Even with the best care, hoses will eventually wear out and need to be replaced. Knowing when to swap out an old hose for a new one is critical for safety. We never take chances with compromised equipment.
Signs It’s Time for a New Hose
Beyond the visual damage we look for during cleaning, here are some other indicators that it’s time to replace your propane hose:
- Age: Most manufacturers recommend replacing propane hoses every 5-10 years, regardless of appearance. We always check the manufacture date printed on the hose itself.
- Brittleness or Hardening: If the hose feels stiff, inflexible, or brittle, it means the material is degrading.
- Persistent Leaks: Even after tightening connections, if we suspect or confirm a leak (using a leak detection spray), the hose itself might be compromised.
- Any Visible Damage: As mentioned, any cracks, bulges, cuts, or excessive fraying warrant immediate replacement.
- Inconsistent Gas Flow: While not always hose-related, if you notice erratic gas flow, and other components are fine, the hose could be partially blocked or collapsing internally.
TIPS for Hose Care
- Proper Storage: When not in use, we store our hoses in a cool, dry place, away from direct sunlight and extreme temperatures. We avoid coiling them too tightly, which can create kinks.
- Avoid Kinking: We always make sure the hose isn’t bent sharply or kinked when setting up our equipment or when storing it. Kinks can cause internal damage and restrict gas flow.
- Protect from Chemicals: We are careful to keep our hoses away from oil, grease, solvents, and other corrosive chemicals that can degrade the rubber or PVC.
- Keep Away from Heat Sources: We always position our hoses so they are not in direct contact with hot surfaces, such as grill grates or engine components, which can melt or damage them.
- Regular Inspections: Even when not cleaning, we make it a habit to quickly visually inspect the hose before each use, just to be sure.
- Correct Connection: We ensure our connections are always tight but never overtighten them, as this can damage the threads on the hose or the appliance.
By following these simple guidelines, we significantly extend the life and safety of our propane hoses, ensuring countless hours of worry-free use.
Conclusion
Taking care of your propane hose might seem like a small task, but it’s a vital part of responsible propane use. A clean, well-maintained, and regularly inspected hose ensures not only the efficiency of your appliances but, more importantly, the safety of your home and family. We hope this comprehensive guide helps you keep your propane hoses in pristine condition.
Do you have any other tips for keeping your propane gear in top shape? We’d love to hear them!