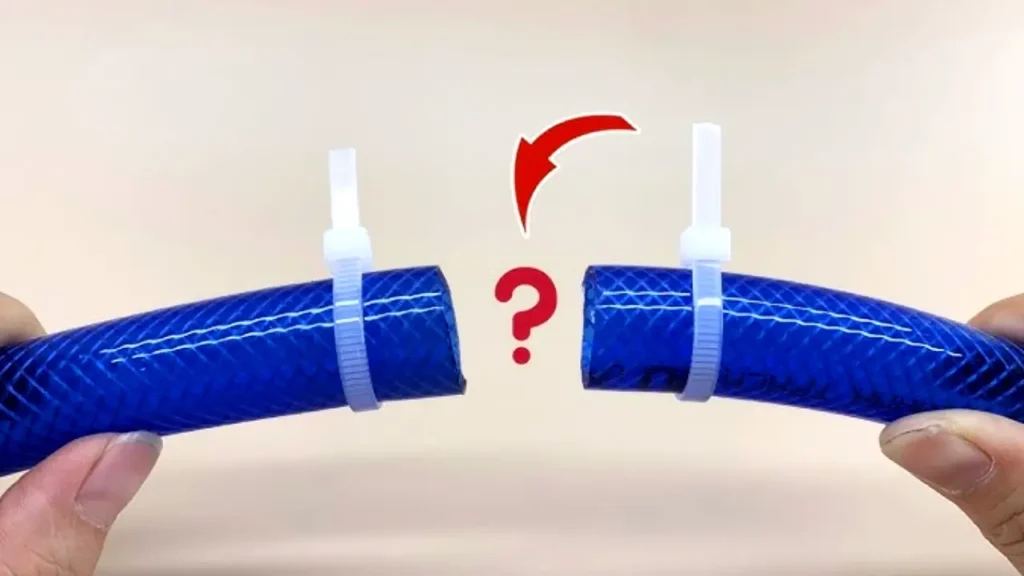
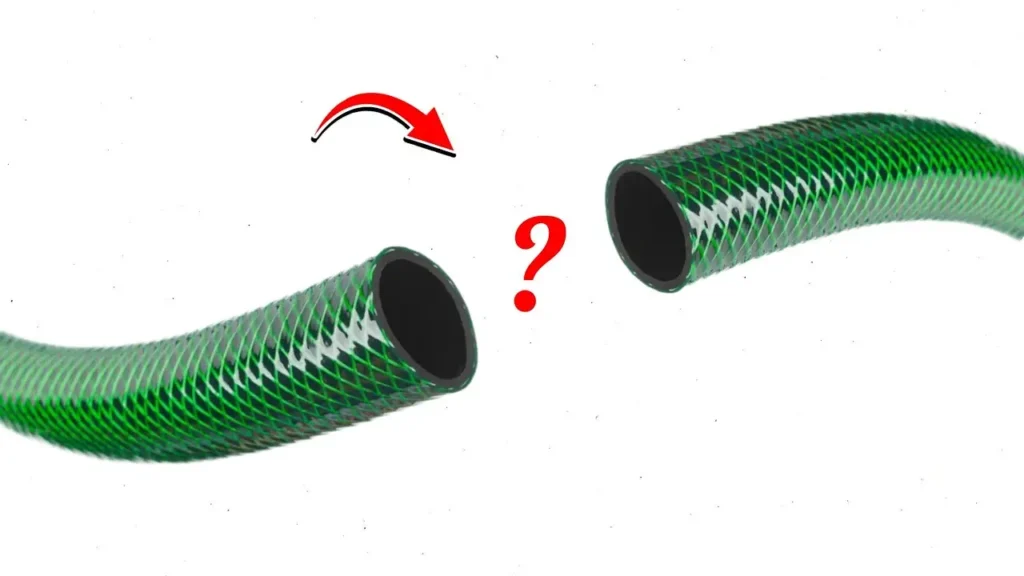
Connecting two rubber hoses is a common task, whether you’re extending a garden line or repairing a critical industrial fluid transfer system. A successful connection requires more than just jamming the ends together; it demands the right technique and hardware to ensure a strong, leak-proof, and durable seal.
This guide simplifies the process of joining hoses using proper couplings and clamps. We will walk you through selecting the correct connector and implementing a step-by-step method to create a reliable hose assembly that maintains system pressure and avoids costly downtime or water loss.
Why Connecting 2 Rubber Hoses?
While single, continuous rubber hoses are ideal for short runs, there are several practical and logistical reasons to connect two or more rubber hoses. Using reliable couplings allows for flexibility in length, easier repair, and the convenient creation of customized fluid transfer systems for any application.
Key Reasons for Connecting Two Rubber Hoses:
- To Achieve Necessary Length or Reach: Connecting two standard-length rubber hoses is often the easiest way to cover a long distance without needing to purchase an expensive, custom-length hose. This modular approach is highly practical for jobs requiring variable reach, such as large commercial pressure washing or extensive garden irrigation systems.
- Facilitate Easy Repair and Replacement: In a long hose system, if a small section near the middle becomes damaged, connecting two shorter hoses allows you to cut out the faulty part and use a coupler for a fast repair. This method avoids replacing the entire expensive hose, saving significant time, material, and cost.
- Bypass or Isolate Sections of a System: Connecting hoses can be necessary when integrating a new component, like a filter or a shut-off valve, into an existing line. Using a coupler on either side of the component allows you to seamlessly insert and later remove or bypass that section for maintenance or system changes.
- Create Versatile, Modular Systems: Connecting multiple short hoses provides flexibility to quickly reconfigure a fluid system on the fly. You can easily switch between different hose lengths or detach a section for quick drainage, cleaning, or storage, making the entire setup more manageable and user-friendly for complex tasks.
How to Connect Two Rubber Hoses?

To effectively stretch a rubber hose for a perfect fit, you need to use controlled heat and lubrication. This technique temporarily expands the hose’s Inner Diameter (ID), allowing it to slide easily onto a slightly larger connector without risking tears or material damage.
Tools Needed
A successful hose connection depends on using the right components and tools to achieve a secure mechanical seal. Gathering these items beforehand ensures a smooth and efficient assembly process.
- Hose Coupler/Splicer (Barb or Threaded): This fitting is the essential piece that joins the two hose ends. It must match the hoses’ Inner Diameter (ID) for a tight fit.
- Hose Clamps (Worm Gear or T-Bolt): These fasteners are critical for securing the hose ends over the coupler’s barbs. Ensure they are the right size for the hose’s Outer Diameter (OD) for maximum compression.
- Screwdriver or Socket Wrench: Used to tighten the hose clamps securely. The specific tool depends on the type of clamp mechanism used for the assembly, ensuring the clamps are fastened to the manufacturer’s specification.
- Hose Cutter or Sharp Utility Knife: Needed to trim the hose ends for a clean, straight, and undamaged edge. This is crucial for achieving a proper seal and preventing potential leak paths at the connection point.
- Water-Based Lubricant (Dish Soap): Helps the hose ends slide over the coupler barbs easily. It reduces friction and prevents the rubber from tearing during the forceful pushing and twisting necessary for installation.
Step 1: Select the Correct Coupler
Choose a hose coupler (splicer) that has an Outer Diameter (OD) that matches the Inner Diameter (ID) of the hoses being joined. The coupler should be a barbed fitting to provide excellent mechanical grip inside the hose, ensuring the connection is strong and resists being pulled apart under pressure.
Ensure the coupler material is compatible with the fluid being transferred and the operating environment. The coupler must fit snugly inside the hose for a high-integrity, leak-proof connection, as any looseness will compromise the final seal once the clamps are tightened.
Step 2: Prepare the Hose Ends
Use a sharp hose cutter or a utility knife to ensure both hose ends are cut cleanly and straight across (square). A clean, square cut is essential for maximizing the contact area with the coupler and achieving a reliable seal that prevents fluid from weeping out of the joint.
If the hose ends are stiff or cold, briefly apply a small amount of heat (like hot water) to soften the rubber. This temporary flexibility will make the hose easier to push onto the coupler barbs in the next step, significantly reducing the chance of cracking or tearing the material.
Step 3: Position the Rubber Hose Clamps
Before installing the coupler, slide one appropriately sized hose clamp over the end of the first hose and a second clamp over the end of the second hose. Position the clamps a few inches back from the end so they do not obstruct the installation of the fitting.
For high-pressure or critical applications, it is often recommended to use two clamps per hose end for double security and load distribution. Never forget this step, as trying to slip a clamp over the coupler after installation is nearly impossible without disassembling the entire joint.
Step 4: Lubricate and Insert the Coupler
Apply a small, thin coating of water-based lubricant to the barb end of the coupler. Then, firmly push the first hose end onto the lubricated barb, twisting as you push until the hose is fully seated against the coupler’s center stop for a complete connection.
The lubricant minimizes friction, allowing the hose to slide over the barbs without tearing or excessive force, which protects the integrity of the rubber. Fully seating the hose is critical to ensure the clamp has sufficient material to compress against the coupler’s gripping surfaces.
Step 5: Connect the Second Hose
Repeat the lubrication process on the exposed barb of the coupler, ensuring even coverage. Slide the second hose end onto this lubricated barb, again using a firm push-and-twist motion until it is fully seated against the coupler’s center stop or the fully seated first hose.
Ensure there is no gap between the two hose ends at the center of the fitting; the entire barbed section of the coupler should be completely covered by the two hose ends. This seamless junction creates one continuous fluid path and maximizes the clamping surface area.
Step 6: Secure and Tighten the Hose Clamps
Slide the pre-positioned hose clamps forward over the connection point. The clamp band must sit fully over the coupler’s barb ridges and just behind the end of the hose for optimal sealing pressure and holding force against system pressure.
Using a screwdriver or socket wrench, tighten both clamps firmly until you feel solid resistance. Avoid excessive force, which could cut into or deform the rubber material, weakening the hose and potentially causing a point of failure or an immediate leak.
Step 7: Test the Connection for Leaks
Once both clamps are secured, slowly introduce the operating fluid or air pressure into the newly connected hose system. Visually inspect the connection point for any sign of leaks, weeping, or bubbling, which would indicate a failed seal or insufficient clamp pressure.
If a minor leak is detected, stop the pressure, slightly tighten the corresponding clamp by a quarter-turn, and retest the connection. A properly executed, leak-free connection is now ready for reliable, long-term operational use.
When to Connect 2 Rubber Hoses?

Connecting two rubber hoses with a coupling is often done out of necessity or for functional enhancement of a fluid system. These connections allow users to quickly create custom-length lines, repair damage without replacing the entire hose, and integrate different components into one continuous pathway.
Specific Situations Requiring a Hose Connection:
- Repairing a Damaged Mid-Section: If a hose develops a puncture or tear in the middle, connecting two sections allows for a cost-effective fix. Instead of discarding the entire long hose, you can cut out the damaged portion and use a durable splicer to rejoin the good ends, restoring functionality quickly and cheaply.
- Extending Hose Reach for Longer Distances: When a single hose is too short for a large project, such as extensive yard work or an industrial fluid transfer operation, coupling two standard-length hoses provides the necessary reach. This flexibility is more convenient than purchasing and storing one extremely long, unwieldy hose.
- Customizing the Fluid System: Connections are frequently made to integrate specialized components, such as quick-disconnect fittings, flow meters, or pressure regulators, directly into the hose line. Joining hoses with adaptors allows you to build a custom system that exactly meets the requirements of a specific application or machine setup.
- Transitioning Between Different Hose Materials or Sizes: Sometimes it is necessary to connect a rubber hose to a hose made of a different material (like PVC) or a different diameter. Specialized reducing couplers allow for a secure transition between two different specifications, ensuring system compatibility while maintaining a reliable, leak-proof seal.
Conclusion
Successfully connecting two rubber hoses involves choosing the right coupler and securely fastening the clamps. By following the steps outlined, you have created a robust, pressure-ready seal that will perform reliably under various conditions. Remember that a professional connection ensures the longevity of your entire fluid system.
Now that your hose system is seamlessly extended or repaired, consider the source of your materials for future projects. Starting with high-quality hoses ensures greater flexibility, chemical resistance, and overall durability in your connections. Don’t compromise performance with subpar components.
For all your bulk and industrial needs, Gushan Rubber is your premier source for wholesale rubber hoses. We offer a comprehensive range of diameters and materials engineered for peak performance and easy installation. Contact us today to place your wholesale order and secure reliable quality from Gushan Rubber!


