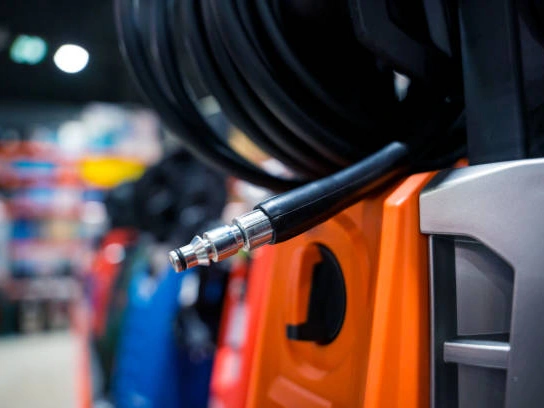
Are you tired of annoying leaks at the connection of your pressure washer hose? A common culprit is often the humble pressure washer hose O-ring. In this comprehensive guide, we’ll explore why these small rubber seals are essential to a leak-free experience. We’ll cover everything from how to determine the right O-ring size for your device to simple replacement steps to ensure your pressure washer hose O-rings are always in perfect condition.
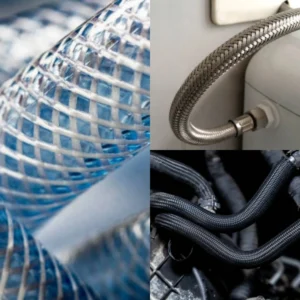
The Importance of O-Rings in Pressure Washer Hoses
Many customers say nothing is more annoying than leaks at the hose connections. This is a common problem, and the solution is often surprisingly simple: the O-rings in your pressure washer hose. These tiny rubber seals are the unsung heroes of your equipment. They create a watertight seal between the hose, nozzle, and pump, preventing water from escaping under high pressure. Without a properly functioning O-ring, even the most expensive pressure washer hose is useless.
We’ve learned that understanding the role of these seals is the first step to a hassle-free cleaning experience. They’re your first line of defense against leaks, and knowing how to maintain them is a skill every pressure washer user should master. It’s not just about preventing messes, but about maintaining pressure and efficiency.
Pressure Washer Hose Components
The O-ring in a pressure washer hose is just one component of a larger system. These O-rings are typically made of nitrile rubber (Buna-N) or fluoroelastomer (Viton), materials known for their durability and chemical resistance. The most common cause of leaks is a damaged, worn, or missing O-ring. Minor tears, cracks, or even slight flattening can break the seal, causing water to spray everywhere.
Where Does the O-Ring Go on a Pressure Washer?
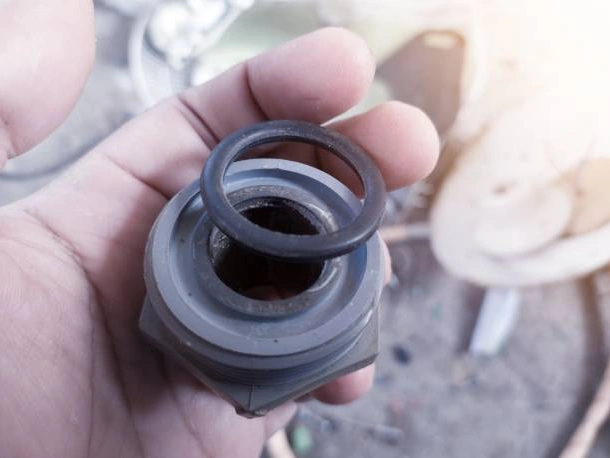
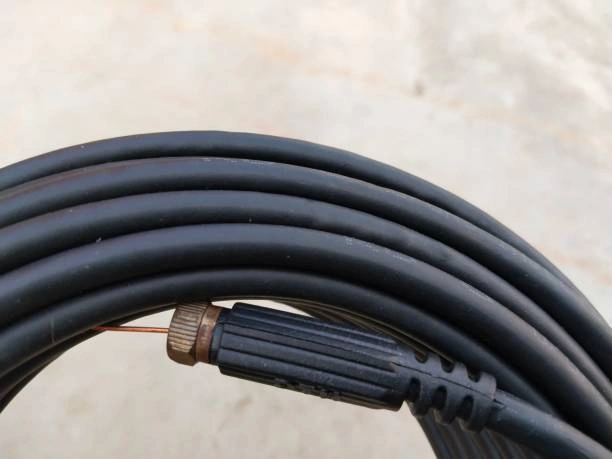
The O-ring on a pressure washer is a small, crucial component that creates a watertight seal within various connection points. You will find O-rings seated in the female fittings where the male end is inserted. This includes the connections at both ends of your pressure washer hose—where it connects to the pump and where it attaches to the spray gun.
O-rings are essential for all quick-connect fittings. These are found on your spray gun, wand, and at the base of your nozzles. Essentially, wherever two components of your pressure washing system screw or click together, there is a small rubber O-ring responsible for preventing leaks under high pressure.
What Size O-Ring Does a Pressure Washer Hose Use?
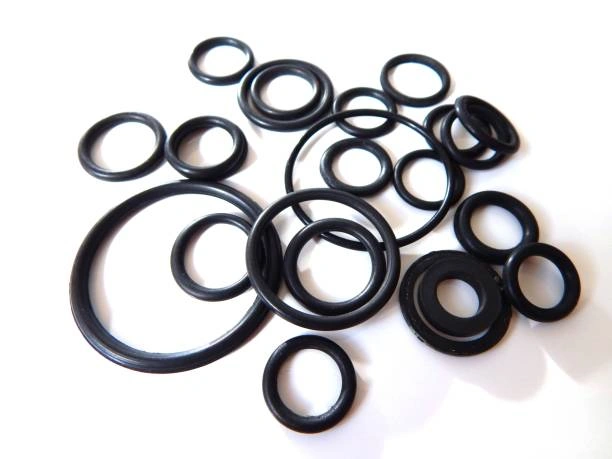
Finding the right pressure washer hose O-ring is crucial. A common mistake I see people make is buying a generic O-ring that doesn’t fit properly. An ill-fitting O-ring is as bad as a missing one, as it will fail to create a proper seal within the hose fitting. The size is measured by its inner diameter (ID), outer diameter (OD), and thickness (cross-section). For most standard hose connections, you’ll likely need a specific size.
To help you out, we’ve put together a handy table of the most common sizes we’ve encountered for various hose connections. This will make it easier for you to match the right ring to your specific needs, whether it’s for a quick-connect fitting on the hose or the connection point at the pump.
| Component | Common O-Ring Size (ID x Cross-Section) |
| Hose Inlet/Outlet | 19mm x 2.5mm |
| M22 Quick-Connect | 14mm x 1.5mm |
| 3/8″ Quick-Connect | 12mm x 2.5mm |
| 1/4″ Quick-Connect | 10mm x 1.9mm |
| Nozzle/Gun Inlet | 16mm x 2.5mm |
How to Replace Hose O-Ring
Replacing a pressure washer hose O-ring is one of the easiest maintenance tasks you can do. Trust me, if I can do it, anyone can. Here’s a step-by-step guide based on my own experience with various hoses.
- Safety First: Always make sure the pressure washer is off and the water supply is disconnected. Squeeze the trigger on the spray gun to release any built-up pressure from the hose.
- Locate the O-Ring: Find the connection point on the pressure washer hose that is leaking. The O-ring is usually seated in a small groove inside the female end of the fitting.
- Remove the Old O-Ring: Use a small, pointed tool like a dental pick or a flathead screwdriver to carefully pry the old O-ring out. Be gentle to avoid scratching the groove inside the hose fitting.
- Clean the Groove: Wipe the groove clean with a cloth. Make sure there’s no dirt or debris that could damage the new O-ring.
- Install the New O-Ring: Place the new pressure washer hose O-ring into the groove. You might need to stretch it slightly. Make sure it sits flat and is not twisted.
- Lubricate (Optional but Recommended): I always apply a thin layer of silicone grease to the new O-ring. This makes for a smoother, tighter seal and prolongs its life.
- Reconnect and Test: Reconnect the hose and fittings. Turn on the water, then the pressure washer, and check for any leaks.
Tips for Extending the Life of Pressure Washer Hose O Rings
While pressure washer hose O-rings are consumable parts, you can take steps to make them last longer. I’ve developed a few habits that have significantly reduced my need for frequent replacements on all my hoses.
- Proper Storage: After each use, disconnect the hoses and store them neatly, away from direct sunlight and extreme temperatures.
- Release Pressure: Always squeeze the trigger to release pressure before disconnecting any fittings. This prevents sudden pressure drops that can damage O-rings.
- Use Lubricant: I’ve found that applying a small amount of silicone grease on a new O-ring not only helps with the initial seal but also protects the rubber from drying out.
- Avoid Over-tightening: When you hand-tighten fittings on your hose, avoid using a wrench unless absolutely necessary. Over-tightening can crush the O-ring and cause it to fail prematurely.
- Use the Right Tools: Use a dedicated O-ring pick or a small flathead screwdriver for removal, not a sharp object that can damage the groove inside the hose fitting.
By following these simple steps, you can save yourself a lot of headaches and keep your entire pressure washer hose system running at peak performance.
Common Problems and Troubleshooting O-Ring Issues on a Hose
Sometimes, a leak isn’t just because of a worn-out O-ring. I’ve encountered a few specific issues with hose connections over the years.
Problem: The O-ring keeps popping out of the hose fitting.
This often happens if you’re using the wrong size O-ring. A ring that is too big will be difficult to seat and can pop out under pressure. Double-check your measurements against the table I provided earlier.
Problem: The hose connection is still leaking after I replaced the O-ring.
If the leak persists, the issue might not be the O-ring. Check the threading on the hose fitting for damage. A crack in the plastic or metal can prevent a proper seal.
Problem: The O-ring is twisted in its groove inside the hose fitting.
A twisted O-ring will not create a seal. Carefully remove it and re-seat it, ensuring it lies flat and smooth. Applying a little lubricant can help it settle correctly.
By systematically troubleshooting, you can save a lot of time and figure out the real source of the problem. It’s all about taking a moment to observe and think logically.
Conclusion
Pressure washer hose O-rings are small and inexpensive, yet they have a huge impact on the efficiency and safety of your pressure washing operation. Learning how to identify, replace, and maintain O-rings can prevent annoying leaks, conserve water, and extend the life of your pressure washer hose. This simple skill can make a huge difference.