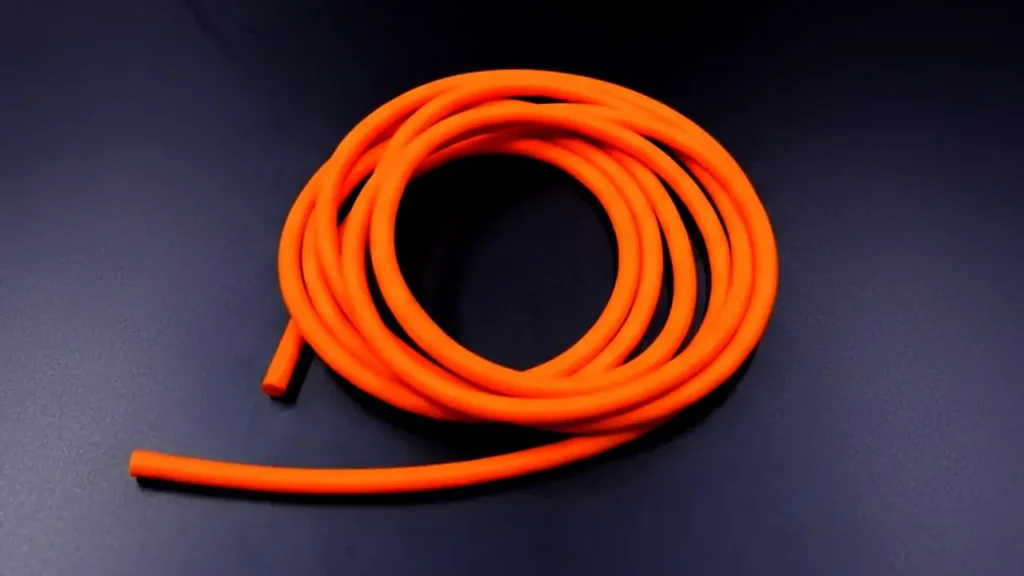
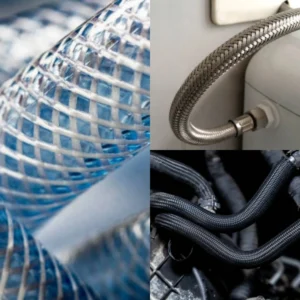
Trying to connect a stiff, shrunken rubber hose to a fitting that seems just slightly too large can be incredibly frustrating. Forcing it can lead to tears, splits, and an unreliable connection. Fortunately, there are simple, effective techniques to safely and gently stretch rubber hoses to ensure a perfect, durable fit.
This guide focuses on making the rubber more pliable through controlled methods, eliminating the need for brute force. We will cover using heat and lubrication to expand the material temporarily, allowing you to slip the hose onto your fittings quickly and securely without causing any damage.
When to Stretch Rubber Hoses?

Stretching a rubber hose is a necessary procedure when the material has become less flexible due to aging, cold temperatures, or manufacturing tolerances. This essential step ensures the hose can be properly mounted to a slightly larger fitting or barb without cracking or requiring excessive force.
Specific Situations Requiring Rubber Hose Stretching:
- Installing a New Hose onto a Large Fitting: When fitting a new rubber hose, especially one with a tight Inner Diameter (ID) tolerance, onto a barbed or ribbed coupling, it may need to be stretched. Gently heating the end makes the rubber pliable, allowing it to temporarily expand just enough to slide over the fitting for a secure, tight seal.
- Hose Shrinkage Due to Age or Cold: Over time, rubber hoses can shrink slightly or lose flexibility, particularly when exposed to prolonged cold temperatures. Before reinstallation or repair, warming and stretching the hose is required to regain its elasticity. This prevents splits and ensures the material can form a reliable seal around the fitting once clamped.
- Hose End Damage or Trimming: If the end of an old hose is damaged and you trim a small section off, the newly cut portion may be stiff and resistant to fitting. Stretching this fresh, rigid end using heat will soften it, making it manageable to push onto the connection point, saving you the cost of a full hose replacement.
- Using Non-Standard or Custom Fittings: Sometimes, an application requires a fitting with an Outer Diameter (OD) slightly larger than the hose’s nominal ID. Stretching the hose end temporarily expands it to accommodate this minor size mismatch, creating a durable and custom-fit assembly that might otherwise be impossible to achieve without special tools or reducers.
How to Stretch a Rubber Hose?
When a rubber hose is too stiff or tight to fit onto a connector, controlled stretching is the safe solution. Applying heat temporarily increases the rubber’s elasticity, allowing you to secure the connection easily without tearing the material.
Preparing the correct tools for stretching a rubber hose ensures the process is safe, efficient, and successful. Having these items on hand—especially the heat source and a quality lubricant—guarantees a smooth installation and a durable, leak-free connection.
Tools Needed
- Heat Source (Hot Water or Hairdryer): Used to safely raise the temperature of the hose end. This makes the rubber pliable, allowing it to stretch easily over the coupling.
- Water-Based Lubricant: A small amount of liquid soap or specialty lube is essential. It minimizes friction, helping the warmed hose slide onto the fitting smoothly.
- Heat-Resistant Gloves: Protect your hands from the hot water or air. These gloves also provide a better grip, allowing you to apply firm, steady force.
- Hose Clamps (New or Reused): Required for securing the hose once it’s on the fitting. Always use the correct size and material for your application.
Step 1: Gather Tools and Ensure Safety
Collect the necessary tools, including a heat source (hot water or hairdryer), water-based lubricant, and heat-resistant gloves. Safety is paramount; ensure the work area is clear and wear gloves to protect your hands from the heat.
Always work with the hose completely disconnected and depressurized from any system. Inspect the hose end for any existing cracks or damage; stretching an already compromised hose can lead to further splitting.
Step 2: Apply Controlled Heat to the Hose End
Submerge the end of the hose (about 1 to 2 inches) into very hot, but not boiling, water for 30 to 60 seconds. Alternatively, use a hairdryer on a high setting, moving it constantly around the hose end to heat it evenly.
The goal is to make the rubber soft and pliable, not scorched or deformed. Test the flexibility with your fingers; it should feel noticeably softer than the rest of the hose, indicating it is ready for the next step.
Step 3: Apply Lubricant to the Fitting
Apply a thin layer of water-based lubricant, like dish soap or specialty non-petroleum-based lubricant, to the outside of the fitting or barb. This crucial step drastically reduces the friction between the hose and the connector.
Never use petroleum-based lubricants (like motor oil or grease), as these can chemically degrade the rubber over time, weakening the hose. The lubricant only needs to be a thin film to assist with the sliding motion.
Step 4: Quickly Push the Hose onto the Fitting
Immediately after heating and lubricating, while the hose is still warm and flexible, align the hose end with the fitting. Apply firm, steady pressure, pushing and twisting the hose simultaneously onto the connector.
Work quickly, as the rubber will start to cool and tighten rapidly. Ensure you push the hose all the way up to the designed stop or the bead on the fitting to establish a full and secure connection before it sets.
Step 5: Allow the Hose to Cool and Shrink
Once the hose is securely in place, allow it to cool completely back to the ambient temperature before tightening any clamps. As the rubber cools, it will contract and shrink slightly, tightening its grip onto the fitting.
This cooling and contraction process creates the necessary high-integrity, leak-proof seal. Tightening a clamp while the rubber is still hot and soft can cause the clamp to bite too deep, damaging the hose material.
Step 6: Install the Clamp and Test the Connection
After the hose has cooled, install the hose clamp (worm drive or T-bolt) over the hose and fitting, ensuring the band is fully behind the bead. Tighten the clamp firmly, but avoid over-tightening which can deform the hose or fitting.
Finally, introduce fluid pressure to the system gradually and check for any leaks. A properly stretched and clamped hose should hold pressure securely without any signs of weeping or movement at the connection point.
Tips to Improve Rubber Hose Flexibility

When dealing with rubber hoses, maintaining or restoring flexibility is essential for ease of installation, preventing kinking, and ensuring a long service life, especially in cold environments. A stiff hose can lead to stress on fittings and potential failure points.
Here are effective tips to improve and maintain rubber hose flexibility:
- Warm the Hose Before Installation: If a hose is stiff due to cold weather, gently warm it with a heat gun (on a low setting, keeping a safe distance) or by storing it in a warm room. A warm hose is significantly more pliable, allowing for easier routing and connection without excessive force, reducing the risk of material stress.
- Avoid Extreme Bending and Twisting: To prevent kinking, always handle the hose by using the widest bend radius possible, never forcing it into a tight corner sharper than the manufacturer’s specified minimum bend radius. Consistent sharp bends permanently damage the internal reinforcement, severely compromising flexibility and safety.
- Apply a Rubber Conditioner: Periodically treat the outer cover with a rubber or vinyl conditioner that contains UV inhibitors. This prevents the rubber from drying out, hardening, and cracking due to ozone and sunlight exposure. Conditioning maintains the rubber’s natural elasticity, keeping it supple and flexible over time.
- Store Properly When Not in Use: When storing the hose for long periods, coil it loosely without kinks and keep it in a cool, dark, and dry area. Avoid hanging it sharply or leaving it near electric motors that generate ozone. Proper storage prevents premature stiffening and degradation of the rubber compounds.
Why Stretching Rubber Hoses?
Stretching rubber hoses is a crucial technique often required during installation or repair. It allows a slightly undersized or stiff hose to securely fit over a connector or barb without being damaged. This process is necessary to achieve the tight, secure seal that is essential for preventing leaks and ensuring system integrity.
Primary Reasons for Stretching Rubber Hoses:
- Ensure a Leak-Proof Seal on Fittings: Rubber hoses are frequently manufactured with an Inner Diameter (ID) slightly smaller than the fitting’s Outer Diameter (OD) to ensure a high-tension, interference fit. Temporarily stretching the hose end allows it to slide fully over the larger barb. As the hose cools, it shrinks back, creating a strong, compression seal that resists leaks.
- Overcome Material Stiffness from Cold or Age: When rubber hoses are cold or have aged, the material loses its elasticity and becomes rigid, making it nearly impossible to install. Applying heat softens the rubber, allowing it to stretch and conform to the fitting. This prevents the rubber from cracking or tearing, which would otherwise happen if forced while stiff.
- Accommodate Slight Size Mismatches: In many repair situations, the replacement hose may be marginally smaller than the original, or the fitting may be a non-standard size. Controlled stretching provides a simple method to expand the hose just enough to bridge this small size gap, ensuring the proper functional connection without the need for custom parts.
- Ease of Installation and Prevent Tearing: Forcing a stiff hose onto a fitting is risky, often resulting in fatigue, tears, or splits at the hose end—a guaranteed failure point. By making the rubber pliable through heat, stretching reduces the physical effort and the risk of damage, ensuring the integrity of the material remains intact for long-term reliability.
Conclusion
By applying controlled heat and using lubrication, you can effectively stretch and soften stubborn rubber hoses for a perfect fit, preventing frustrating installation issues and potential damage. Remember, patience and gentle, steady pressure are key to success. Never resort to forcing the hose, as this compromises its integrity and leads to early failure.
Having mastered the technique of stretching and installing rubber hoses, you are now prepared for any job. For your next project, ensure you are starting with high-quality, durable materials that offer the best long-term performance. Quality hoses are easier to work with and provide superior system reliability.
For all your industrial, automotive, or commercial needs, Gushan Rubber offers a complete range of wholesale rubber hoses designed to meet rigorous standards. Whether you need flexible, heat-resistant, or custom-sized hoses, we provide bulk quality you can trust. Contact us today to secure your inventory from Gushan Rubber!


